These Garlicky and Crispy Green Beans have bright, fresh flavors! With only 3 ingredients and 15 minutes to make, they’re an excellent side dish for any meal!
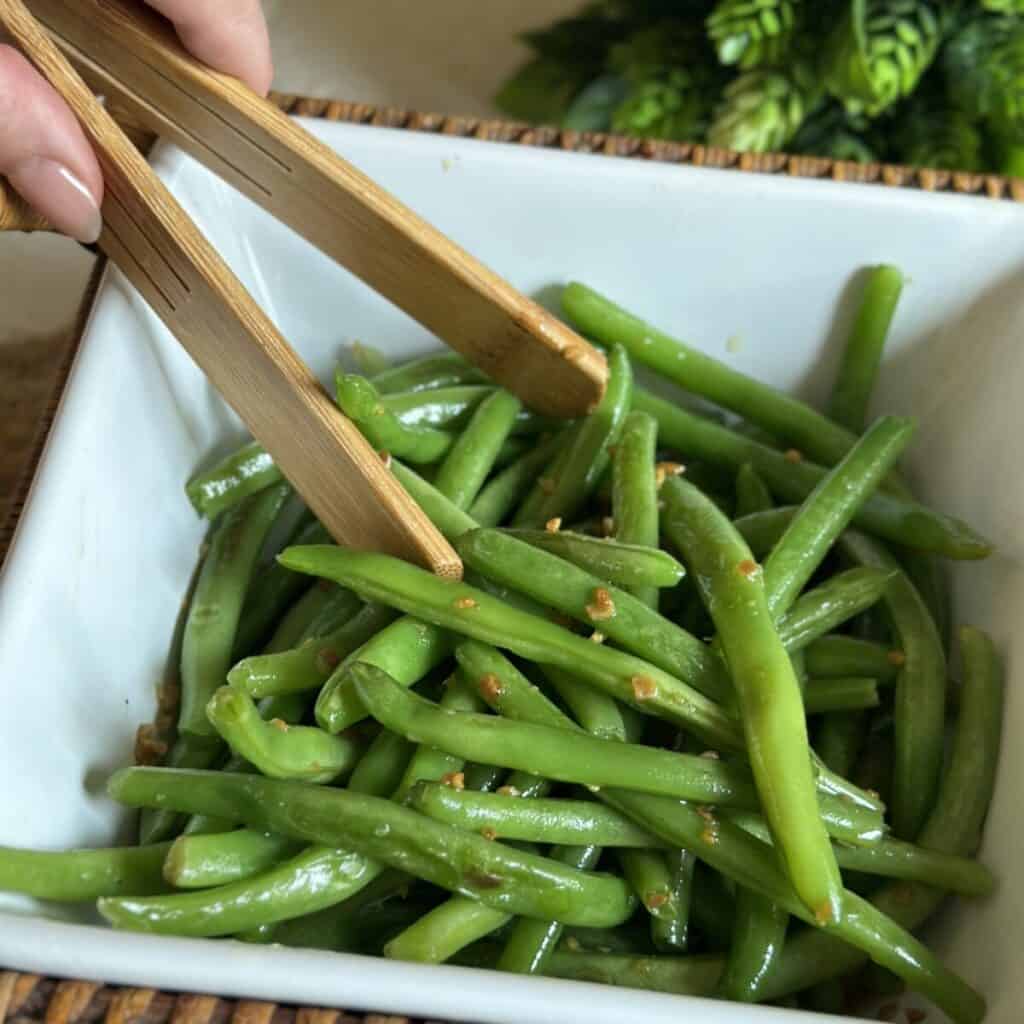
Are you looking for a simple yet flavorful perfect side dish to pair with your meals? Look no further than these Crispy and Garlicky Green Beans. Tender with a delightful crunch, these fresh green beans are coated in a savory garlic-infused olive oil that will have you coming back for seconds. Fresh garlic or crispy garlic nuggets give them and incredible flavor! Bonus, you can make them most of the way ahead of time and they take a mere 15 minutes to make!
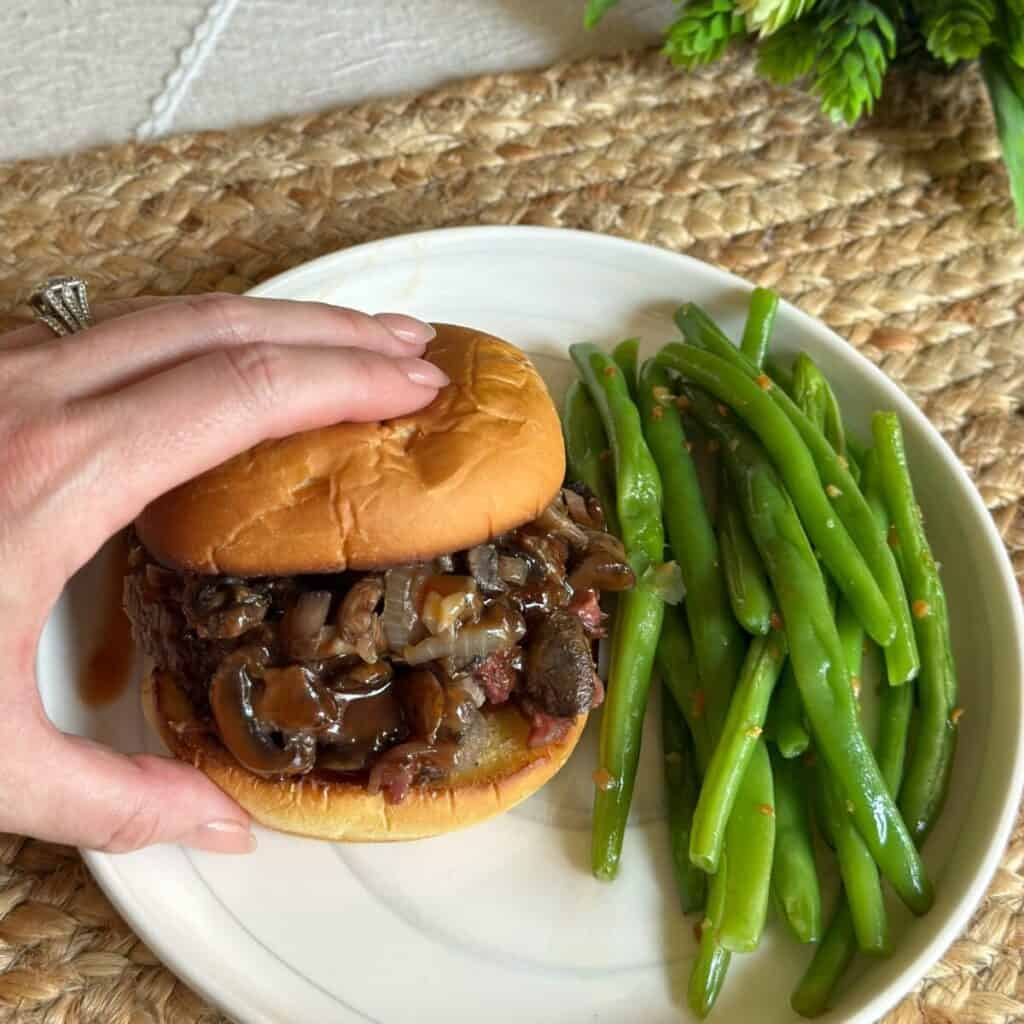
Whether you're preparing a weeknight dinner or hosting a special gathering, this side dish is sure to impress and become a part of your regular rotation. Some of our favorite dinners to pair these beans with are Baked Cod with Cream Sauce, Beef Tips and Gravy, and French Onion Chicken and Rice Bake!
Save The Recipe!
Add your email below and we’ll send it straight to your inbox+ you’ll receive all our newest recipes!
Table of Contents
Blanching Your Green Beans is Essential
Blanching your green beans is an essential first step in the recipe. It keeps them crunchy in texture and very fresh in flavor!
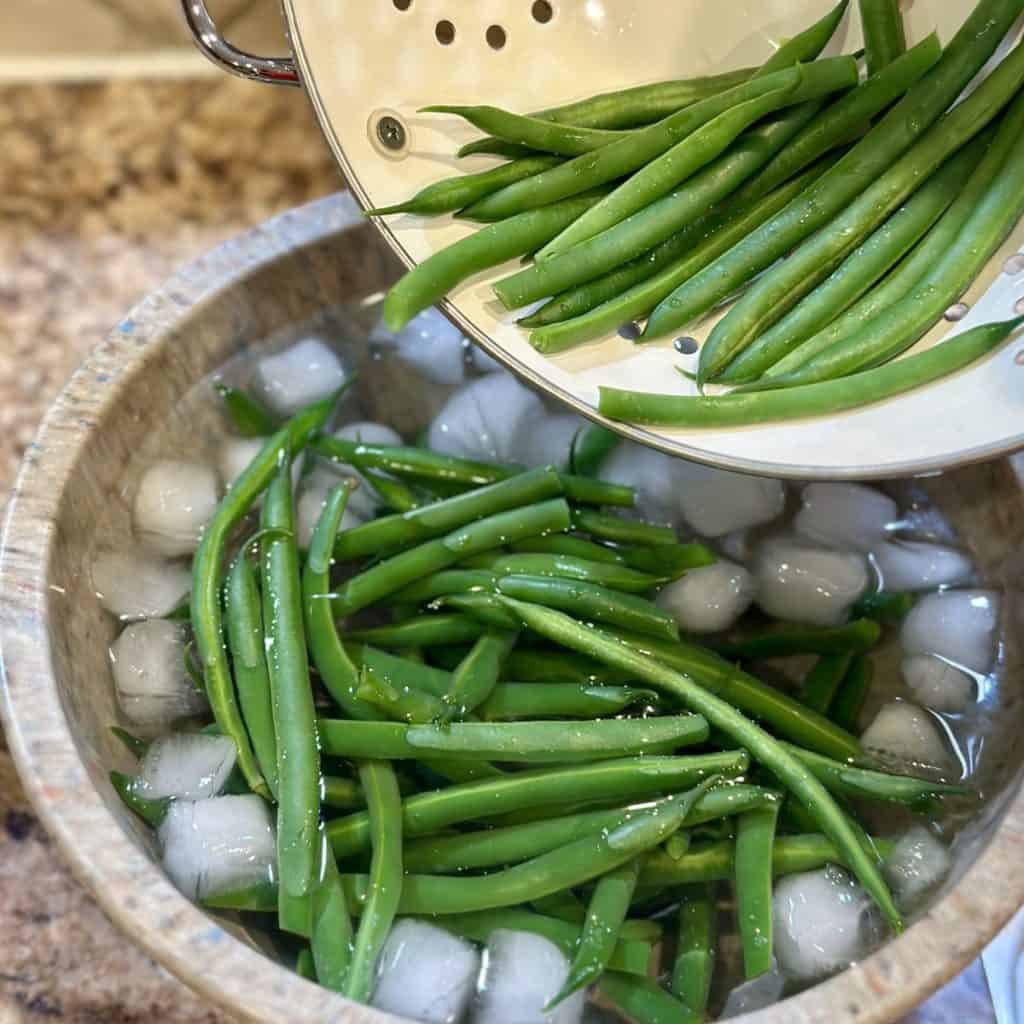
The blanching process is a cooking technique that involves briefly boiling fresh green beans in hot water followed by rapidly cooling them in ice water. This process helps retain the beans' vibrant green color, partially cooks them, and preserves their crunchy texture.
Why You'll Love this Recipe
- Quick and Easy Recipe: With minimal ingredients, this green bean recipe comes together in no time, making it perfect for busy weeknights.
- Flavorful: The combination of fresh green beans, lots of garlic, and olive oil creates a burst of flavors in every bite.
- Versatile Serving Options: It's delicious with so many meals! A couple that we love it with are Meatloaf Casserole and Easy Cashew Chicken Recipe.
- Healthy: They're packed with vitamins and minerals, making this a nutritious addition to any meal.
Ingredients
Scroll Down for Ingredient Amounts Listed in the Recipe Card Below
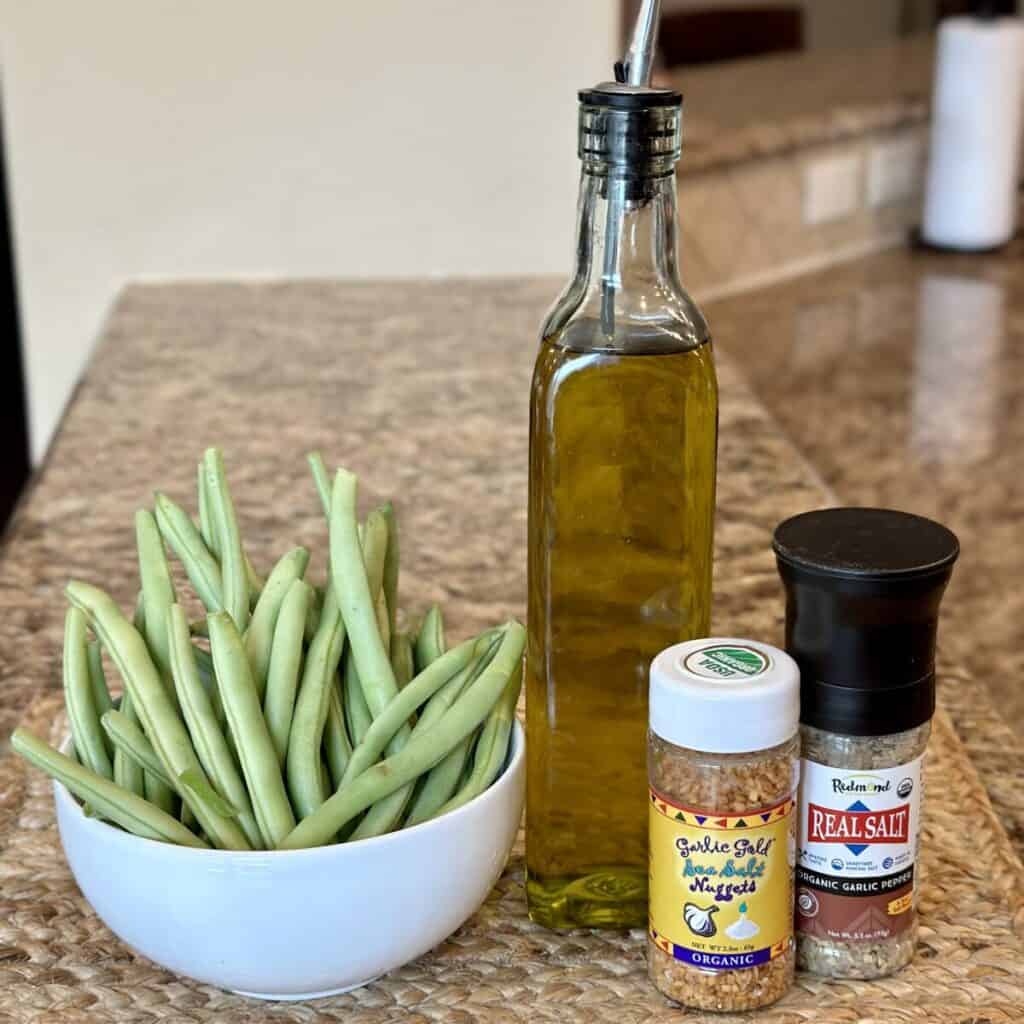
- Extra-Virgin Olive Oil: Provides a rich, smooth base for sautéing the garlic and green beans, adding a touch of healthy fat and enhancing the overall flavor.
- Green Beans: The star of the dish, they offer a crisp texture and a slightly sweet flavor that pairs perfectly with garlic.
- Garlic Cloves: Elevates the green beans from simple to sensational. Adds texture and flavor! Crispy Garlic Nuggets can also be used and are a pantry staple in our house!
Tools You'll Need
How to make Crispy Green Beans
- In a large skillet on high heat, bring water to a boil. Add the green beans and cook until crisp/tender, about 3-5 minutes.
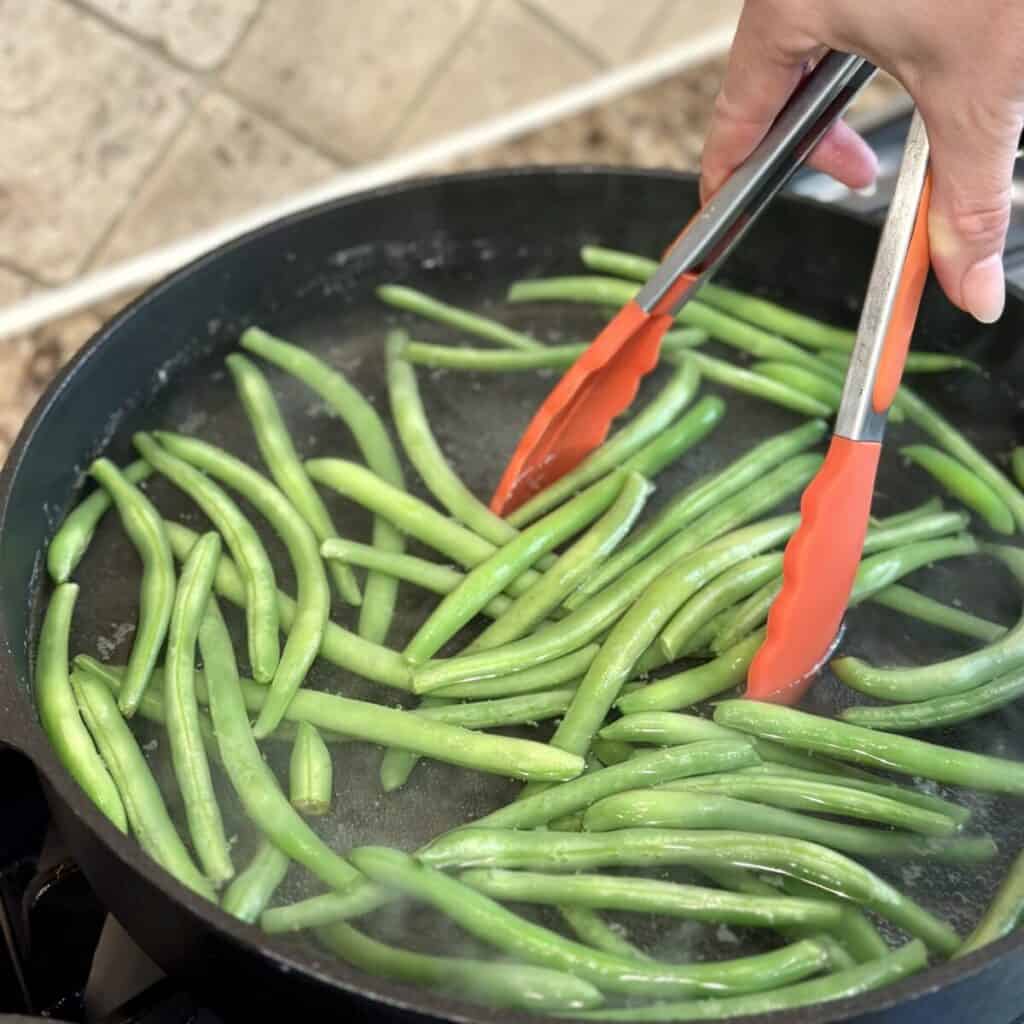
- Drain the green beans in a colander. Transfer to an ice bath. Once cool, drain again in the colander.
- Heat 1-2 tablespoons olive oil in a skillet on medium-high heat. Pour the drained green beans into the hot oil. Sear 1 minute.
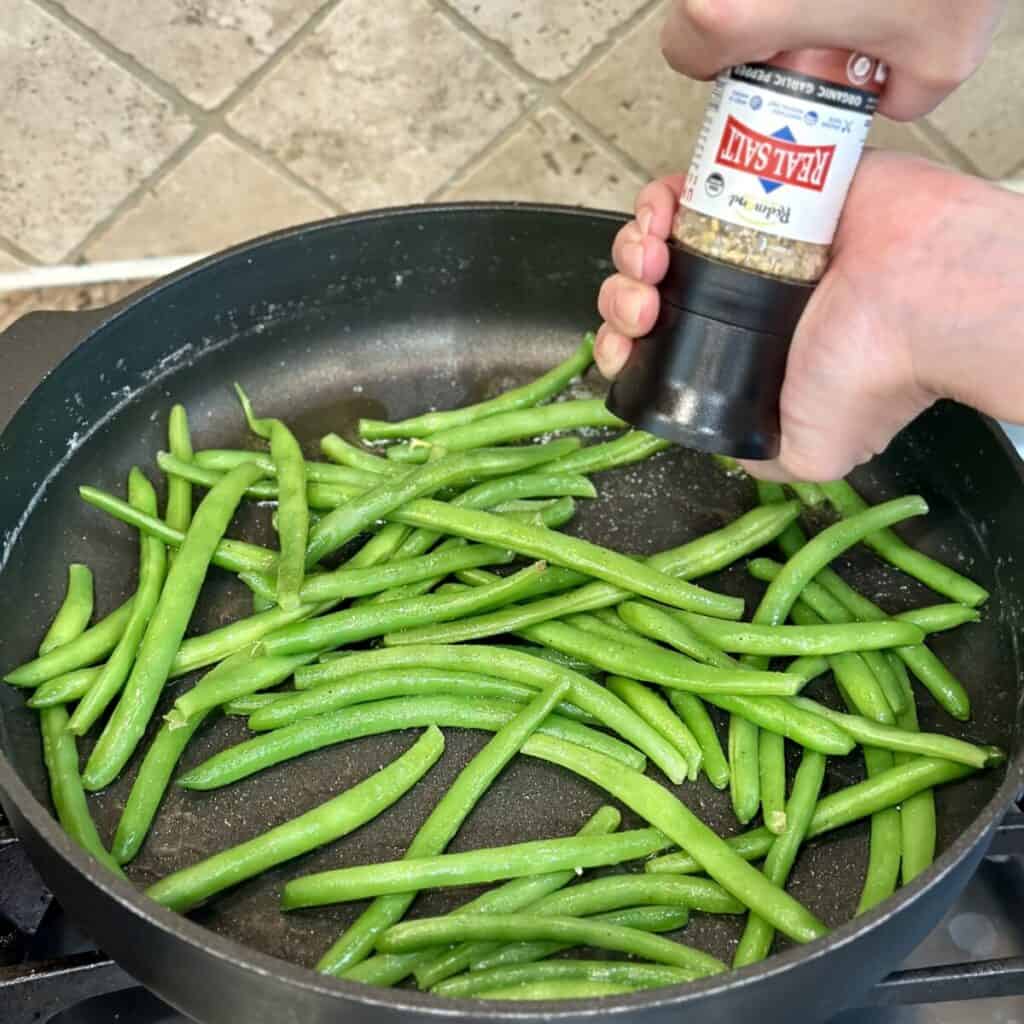
- Add salt and black pepper or seasoned salt, stir, and sear 1-2 minutes or until crispy and starting to brown.
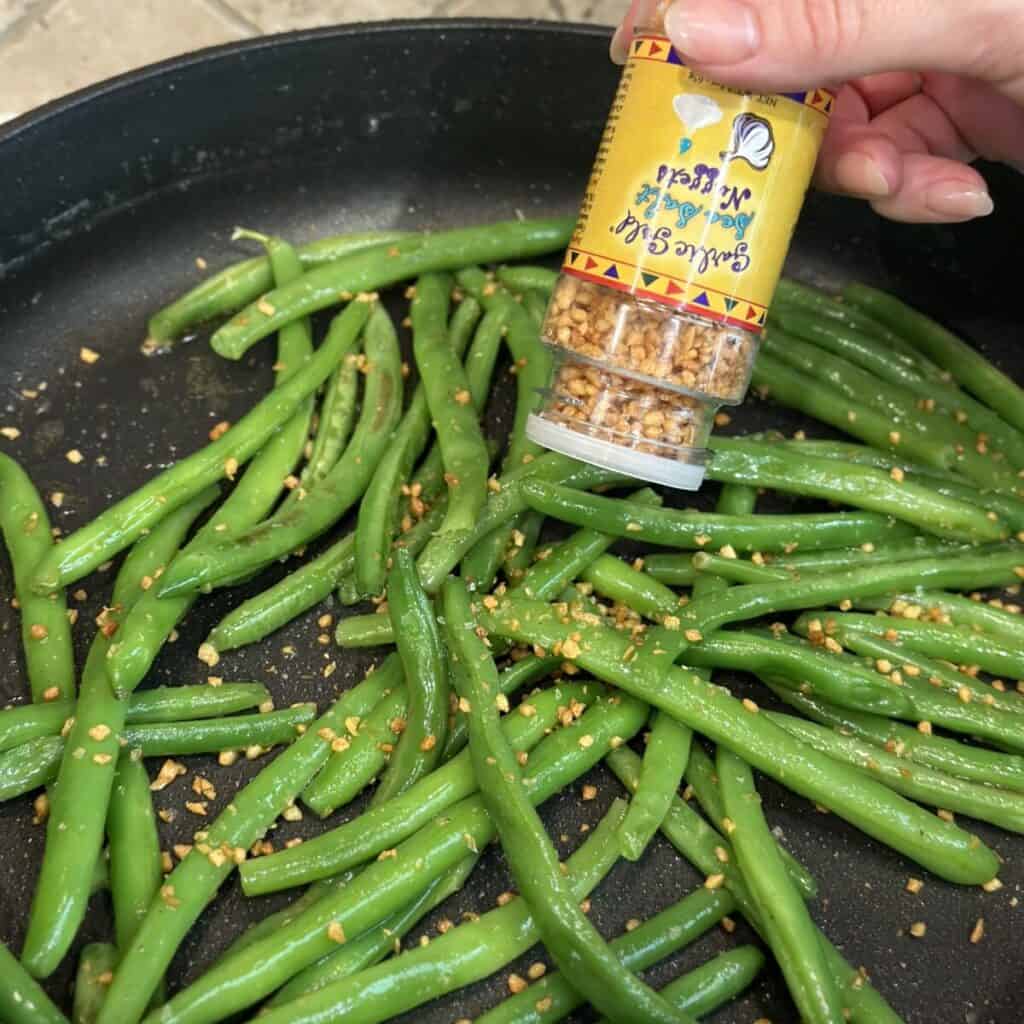
- Add fresh garlic or crispy garlic nuggets, and sear an additional minute. Transfer the sautéed green beans to a serving dish.
Pro Tips and Substitutions
- Set up an ice bath in advance. When you are blanching the beans, be sure to set the ice bath up in advance. This is crucial to stopping the cooking of the green beans after boiling to achieve the perfect texture.
- Try roasting the green beans. If you would prefer to use the oven, that works well too! Roast the green beans tossed in the olive oil at 400ºF for 15 to 20 minutes until just tender. Add the fresh garlic in the last 5 minutes of cooking to avoid burning.
- Air fry the green beans. This is another alternative cooking method. Simply cook at 400ºF for 5 to 10 minutes, checking every so often and shaking the beans frequently for easy cooking. Again, add garlic in the last 5 minutes of cooking.
- Oil Options: Use regular olive oil, avocado oil, vegetable oil, or grapeseed oil instead of extra virgin olive oil for a different flavor profile. Sesame oil is also delicious, but a little bit goes a long way for flavor, so you might want to go with ½ teaspoon to 1 teaspoon sesame oil and use another neutral oil for the rest. You can also use butter in place of oil.
Flavor Variations for Garlicky Green Beans
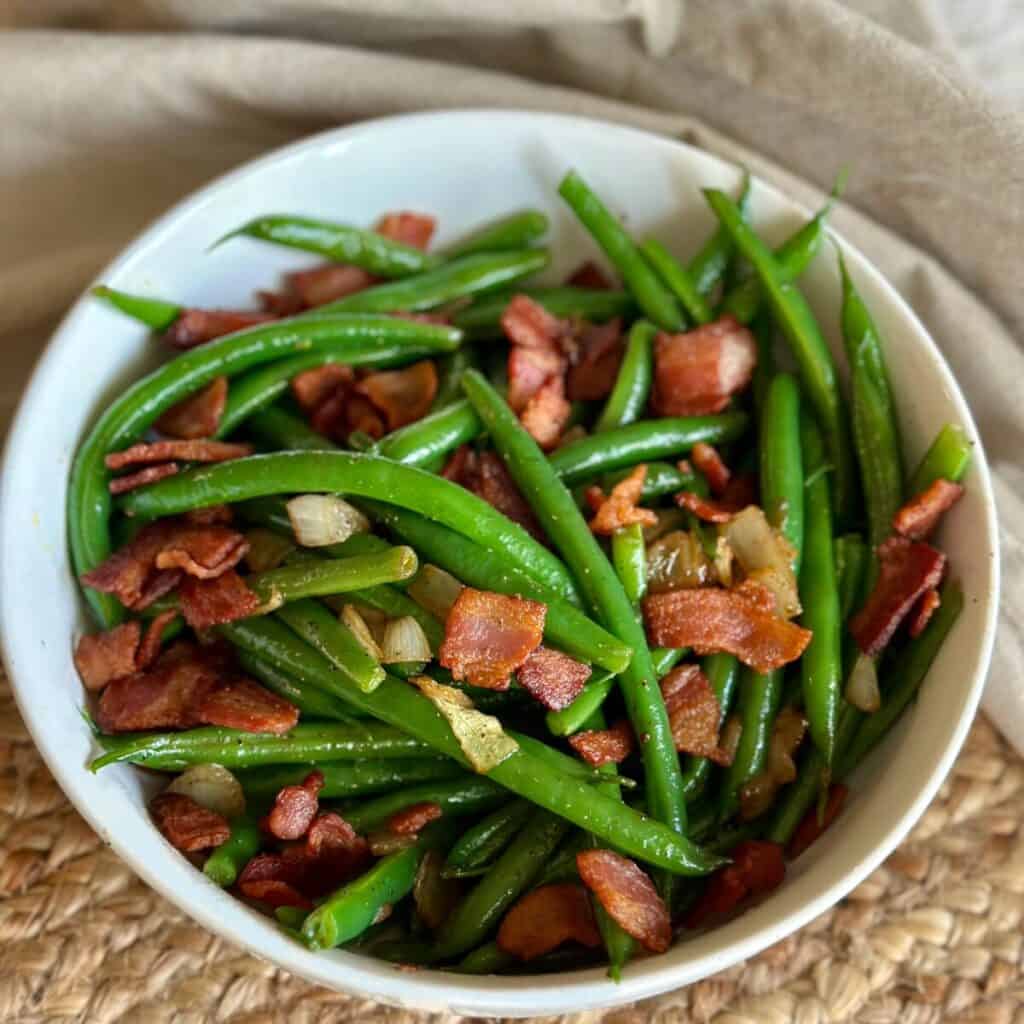
For a nutty flavor with a lemony, parmesan twist, you'll find my Gremolata Green Beans to hit all the right notes. Bacon lovers, you'll want to check out my Green Beans with Bacon and Onion!
Here are more delicious variations for cooking green beans in a skillet to add more variety and flavor to your dishes:
- Asian-Inspired Green Beans: After the beans have been blanched and drained, return the skillet with ½-1 teaspoon sesame oil, 2-3 teaspoons olive oil, 1 tablespoon dark soy sauce, regular soy sauce, or coconut aminos, 1 teaspoon grated ginger and garlic. Season and sear until crisp-tender. Garnish with sesame seeds and/or crushed red pepper flakes. These are great to pair with Asian dishes.
- Mushroom and Green Bean Medley: After the beans have been blanched and are resting in the colander, add 1 tablespoon olive oil and sauté sliced mushrooms for 5-7 minutes or until they become golden brown. Proceed with the recipe, adding the green beans, more olive oil, garlic, and seasonings. Add ½-1 tablespoon soy sauce if desired.
- Green Beans with Cherry Tomatoes and Basil: When you return the blanched beans to the skillet, add 2 cups halved cherry tomatoes. Once the beans are crisp-tender and tomatoes slightly blistered, season, plate, and top with snipped fresh basil.
Storage Instructions
Any leftover green beans in bacon are stored best in an air-tight container in the fridge for up to 5 days. Reheat in the microwave or in a skillet on the stovetop over medium low heat until just warmed through, about 5 minutes.
Frequently Asked Questions
Yes, you can use frozen green beans. Just make sure to thaw and pat them dry before cooking to prevent excess moisture.
Yes! You can boil, drain, blanch, and drain the beans ahead of time. This will allow for easier entertaining as all you'll need to do at the very end of your cook time is sauté the beans in olive oil with the fresh garlic.
You can add a variety of seasonings such as red pepper flakes, lemon zest, or fresh herbs like thyme or rosemary to enhance the flavor.
You can trim one or both of the ends of the green beans or haricots verts before preparing them. It’s most important to remove the stem end (the part that was attached to the plant) because it is tougher. Removing the tail end is optional and depends on your preference for presentation and texture.
These garlicky green beans pair well with a variety of main dishes such as roasted chicken, grilled steak, crispy tofu, or baked fish. They're excellent served alongside mashed potatoes, white rice, noodles, or more vegetables.
More Vegetable Side Dish Recipes
- Garlic Broccoli and Mushrooms
- Crispy Parmesan Potatoes
- Crispy Parmesan Roasted Cauliflower
- Ham and Cabbage
Crispy Garlicky Green Beans
Ingredients
Amounts as Desired
- 1 pound fresh green beans cleaned and trimmed
- 2 tablespoons olive oil
- 2-3 garlic cloves or 1 tablespoon crispy garlic nuggets
- salt and black pepper amount as desired
Instructions
- In a large skillet on high heat, bring water to a boil. Add the green beans and cook until crisp/tender, about 3-5 minutes.
- Drain the green beans in a colander. Transfer to an ice bath. Once cool, drain again in the colander.
- Heat 1-2 tablespoons olive oil in a skillet on medium high. Pour the drained green beans into the hot oil. Sear 1 minute.
- Add salt and black pepper or seasoned salt, stir, and sear 1-2 minutes or until crispy and starting to brown.
- Add fresh garlic or crispy garlic nuggets, and sear an additional minute. Transfer the sautéed green beans to a serving dish.
Notes
Pro Tips and Substitutions
- Set up an ice bath in advance. When you are blanching the beans, be sure to set the ice bath up in advance. This is crucial to stopping the cooking of the green beans after boiling to achieve the perfect texture.
- Try roasting the green beans. If you would prefer to use the oven, that works well too! Roast the green beans tossed in the olive oil at 400ºF for 15 to 20 minutes until just tender. Add the fresh garlic in the last 5 minutes of cooking to avoid burning.
- Air fry the green beans. This is another alternative cooking method. Simply cook at 400ºF for 5 to 10 minutes, checking every so often and shaking the beans frequently for easy cooking. Again, add garlic in the last 5 minutes of cooking.
- Oil Options: Use regular olive oil, avocado oil, vegetable oil, or grapeseed oil instead of extra virgin olive oil for a different flavor profile. Sesame oil is also delicious, but a little bit goes a long way for flavor, so you might want to go with ½ teaspoon to 1 teaspoon sesame oil and use another neutral oil for the rest. You can also use butter in place of oil.




Leave a Reply