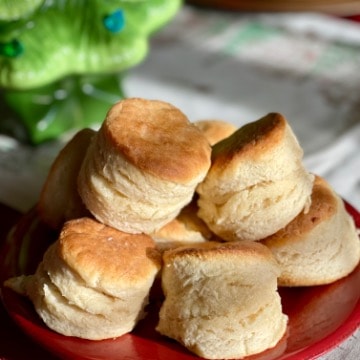
Lard Biscuits
These Lard Biscuits are the easiest 4 ingredient biscuit recipe that comes together in 20 minutes before baking. If you’ve never made biscuits before, give this recipe a try. It’s super simple and makes the tastiest and flakiest biscuits for breakfast, lunch, or dinner.
If you know me, you know I love my biscuits, and am pretty famous for them too. I have all sorts of viral biscuit recipes on my site, but these Lard Biscuits are by far the easiest. Rather than butter in the dough, it’s vegetable shortening, which still gives them the most tender bite and melt-in-your-mouth texture.
Save The Recipe!
Add your email below and we’ll send it straight to your inbox+ you’ll receive all our newest recipes!
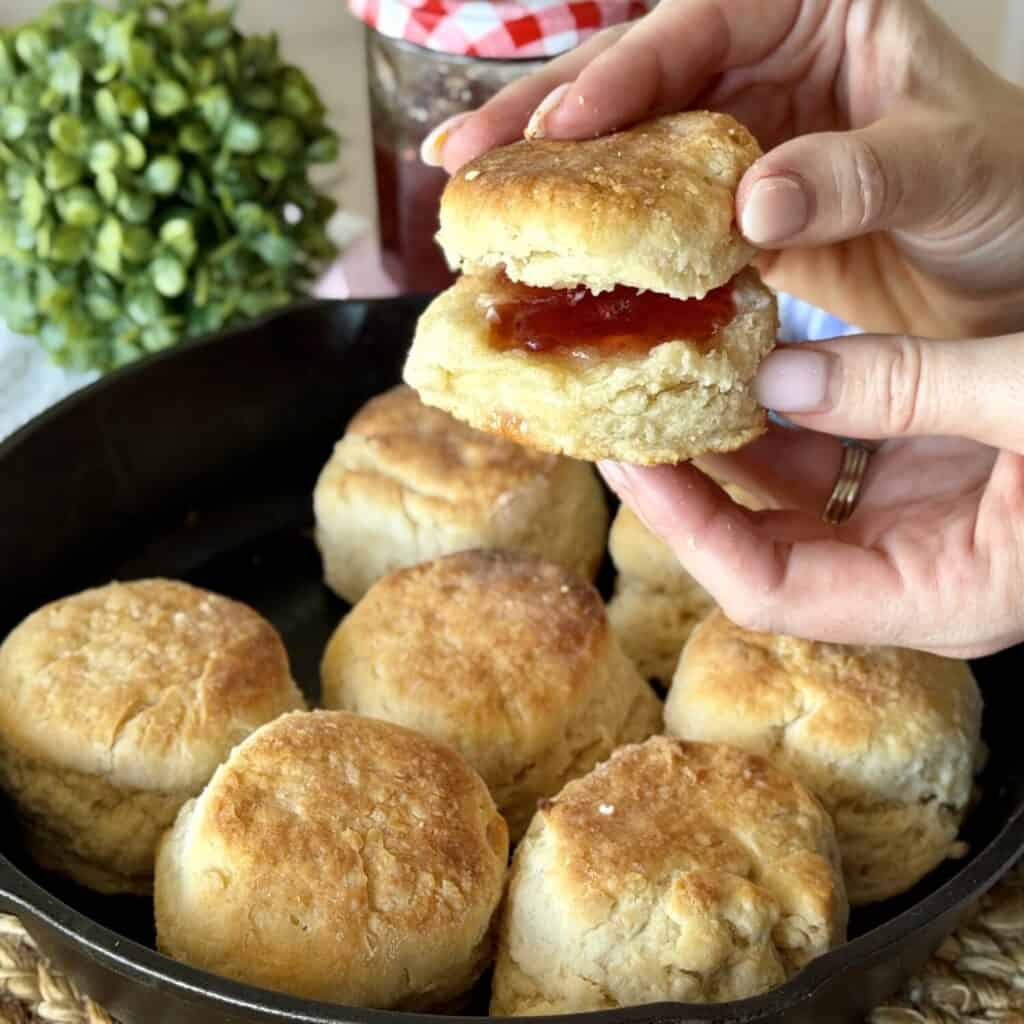
With just a single bowl, these are quick to whip up any morning of the week and everyone’s favorite when entertaining too. Serve them with Sausage Quiche or Overnight Breakfast Casserole for a delicious spread.
Table of Contents
why you’ll love this recipe
- Pantry staple ingredients. I always have these 4 ingredients in my kitchen so I can make biscuits at a moment’s notice!
- Versatile for any meal. Biscuits always have a spot at our table on any menu.
- Impress your family and friends. Homemade biscuits are always so much more delicious than store-bought. These will definitely be a recipe on repeat.
ingredients
Scroll down for recipe amounts and instructions in the recipe card.
- Self-rising flour: Already has the leavener in it. If you need to make your own, combine 1 cup all-purpose flour, 1 1/2 teaspoons baking powder, and 1/2 teaspoon of salt.
- Lard or vegetable shortening: Pop this into the freezer for 10 minutes before adding to the biscuit mix.
- Chilled buttermilk: Shake the buttermilk well before using.
- Salted butter: Melted butter to brush on top for extra rich flavor.
Tools You’ll Need
- 9″x9″ Baking Dish or 9″ Cast Iron Skillet
- Mixing Bowl
- Liquid Measuring Cup
- Biscuit Cutter
- Rolling Pin
how to make lard biscuits
- Preheat oven to 475ºF.
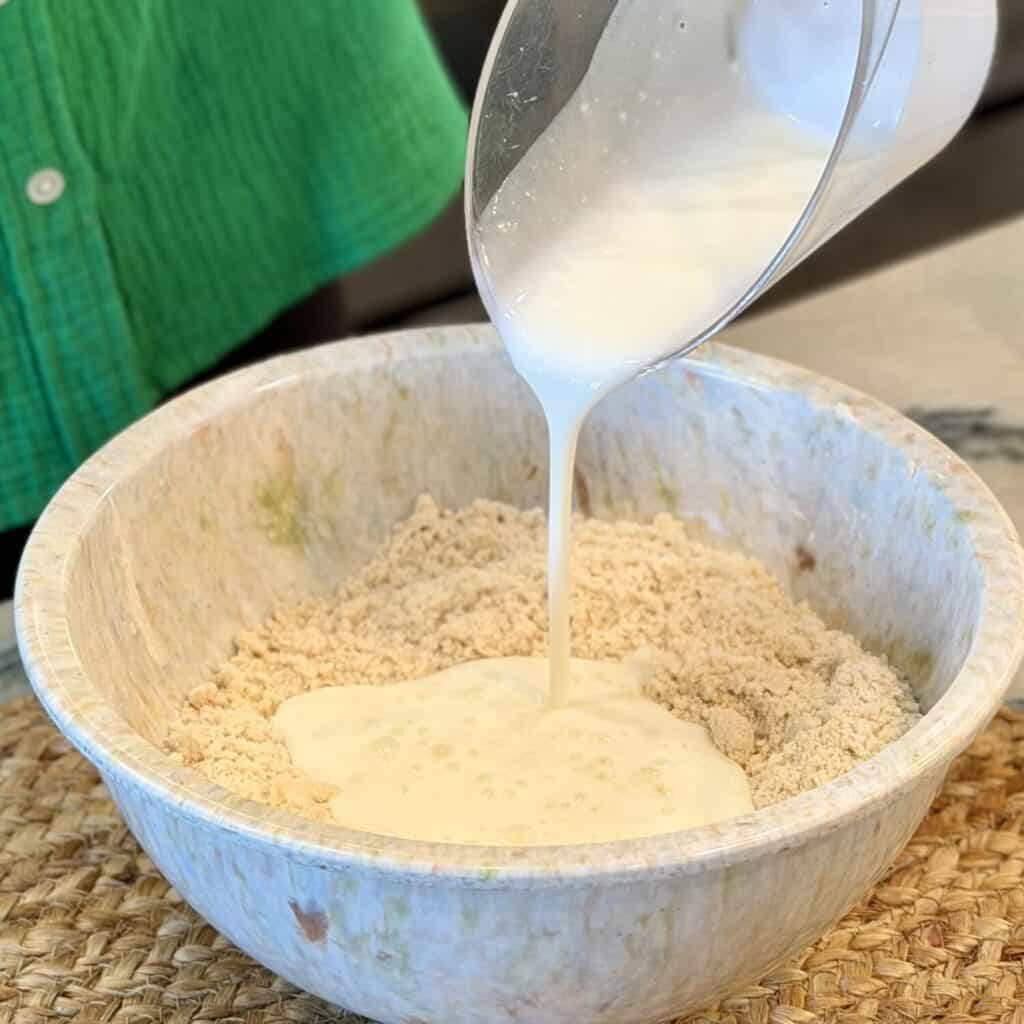
- Using a pastry cutter or 2 forks, cut lard or shortening in the flour until the fat is dispersed evenly, about the size of peas.
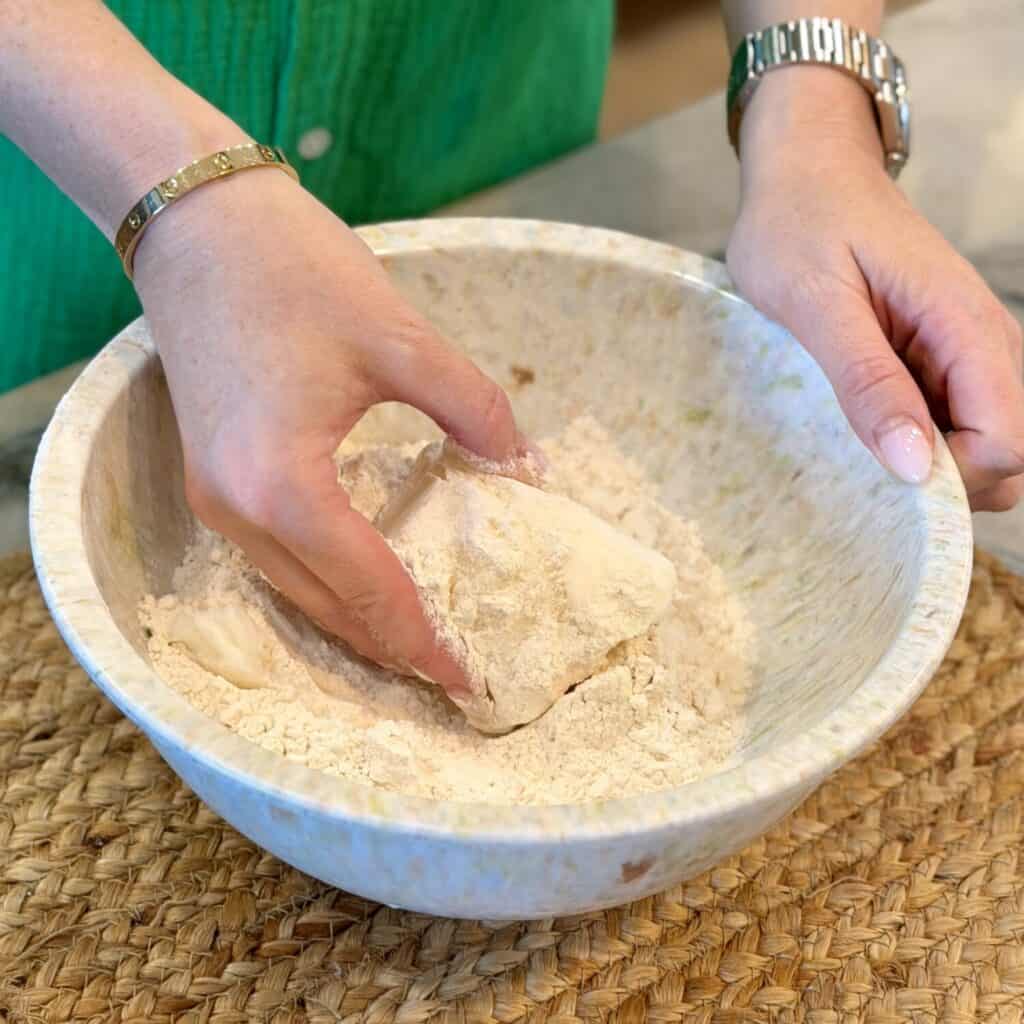
- Make a well in the center of mixture, add buttermilk and stir 8-10 times, the dough will be slightly loose. Add 2-4 tablespoons buttermilk if the dough seems too dry. Turn the dough onto a lightly floured surface and form into a ball.
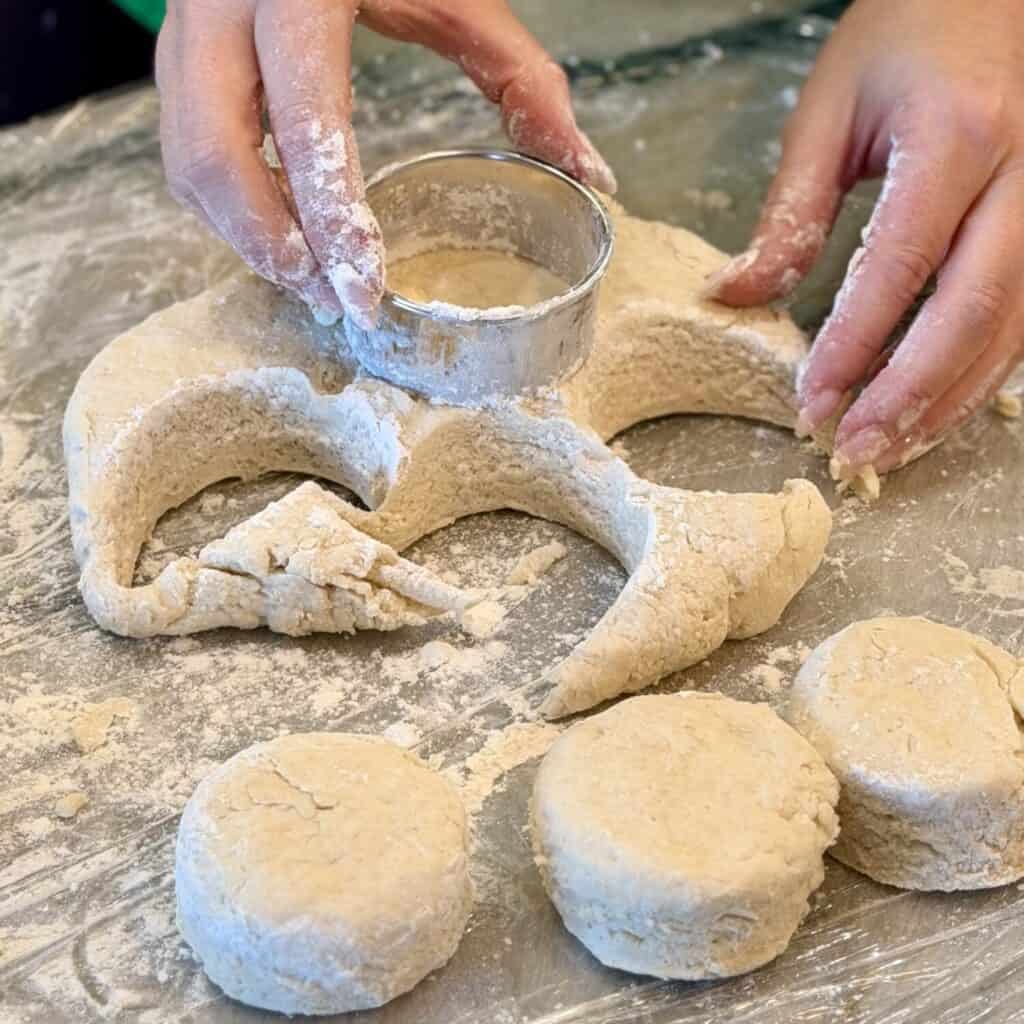
- Sprinkle flour on top of the dough. Create layers by either the “Pat and Fold” or “Pat and Stack” method. Pat and Stack: press the dough to ½-inch thickness, score the dough into 4 equal sections, and stack the 4 together. Once it’s stacked high, press the dough down to ½-inch thickness. Cut with a 2 ½” floured round cutter, reshaping scraps and flouring as needed. Pat and Fold: Using a floured rolling pin, roll dough into a ¾” thick rectangle (about 9”x 5”). Fold dough in half so short ends meet. Repeat rolling and folding process 4 more times. Roll dough to ½” thickness. Cut with a 2 ½” floured round cutter, reshaping scraps and flouring as needed.
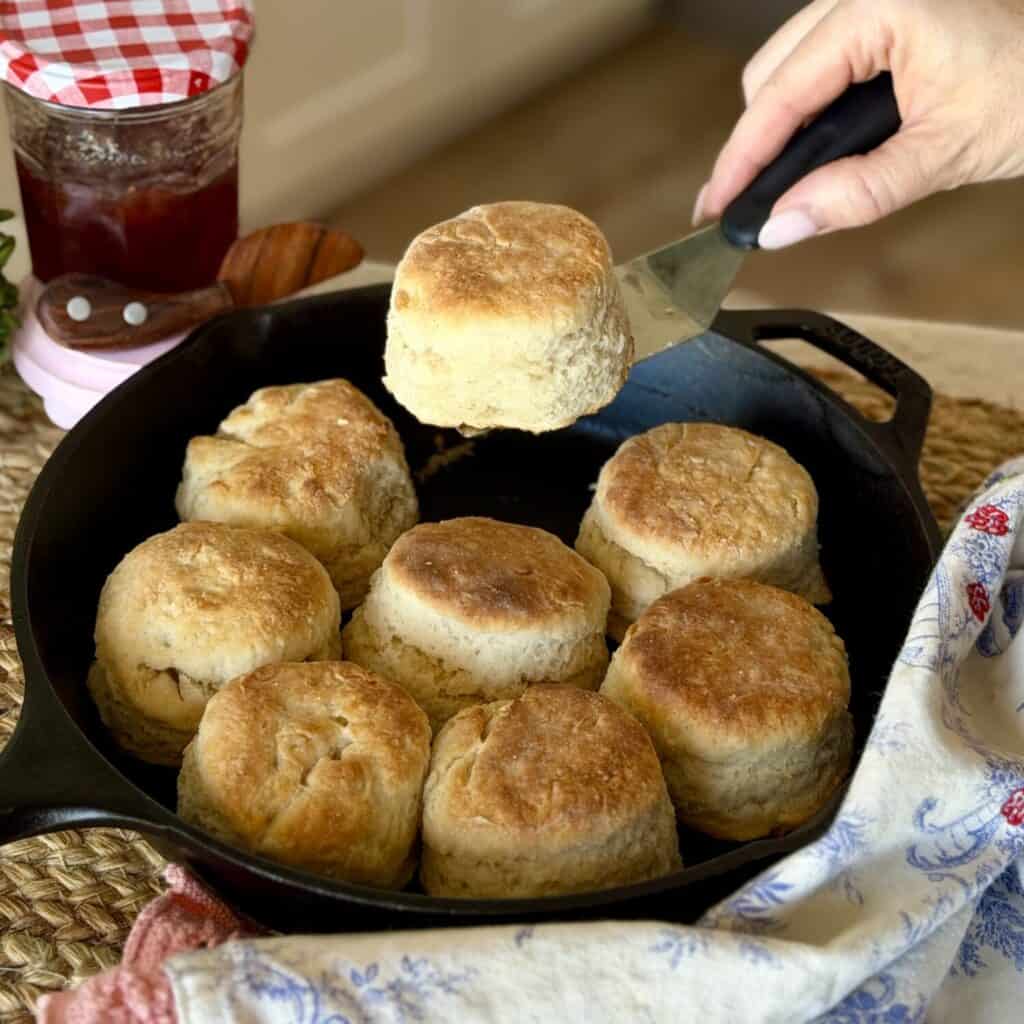
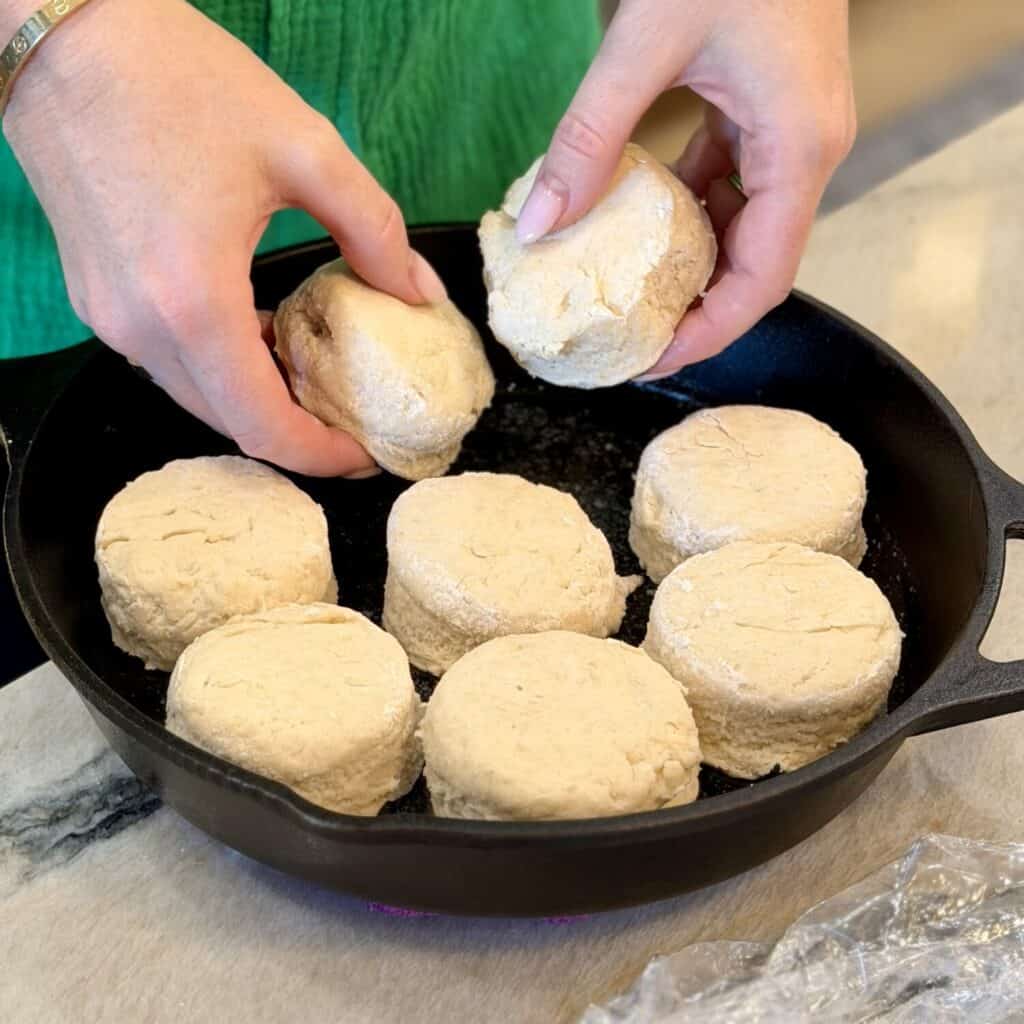
- Place dough rounds on a parchment paper-lined pan or a pre-heated buttered cast iron skillet. Bake at 475ºF for 11-14 minutes or until lightly browned.
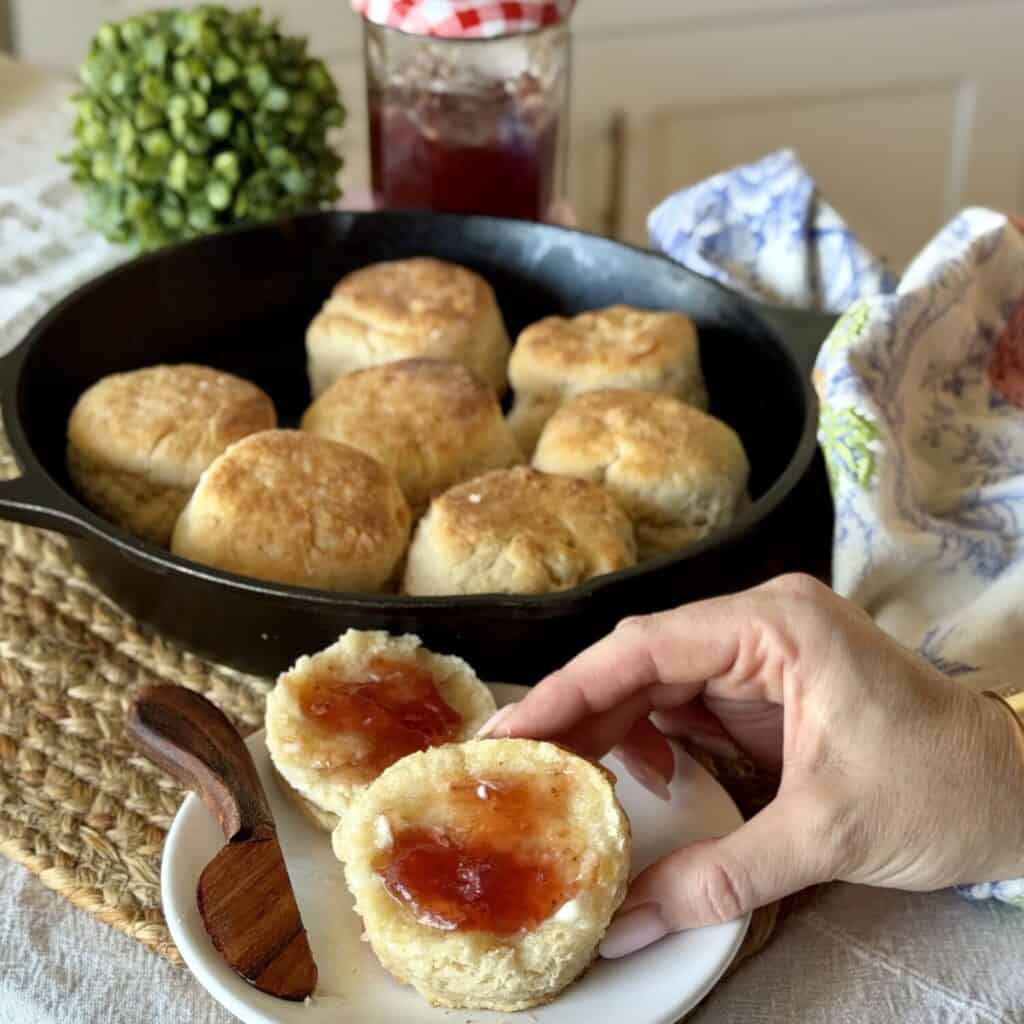
- Brush with melted butter and serve.
expert tips
- Be sure your buttermilk is very cold. This helps the biscuit dough bind together and become the right consistency to get those perfectly flaky layers.
- Don’t over-mix the biscuit dough. If you do, you’ll end up with tough biscuits.
- To make the signature biscuit layers, make sure you “pat and stack”. You’ll want to do this a few times to create those stackable layers everyone loves in a biscuit.
- If you want a crispy bottom, bake the biscuits in a preheated cast iron skillet.
- If your biscuit dough becomes too warm when you are stacking and cutting, place it back into the fridge for 10 minutes before baking.
What Is Self-Rising Flour?
Self-rising flour is a type of flour that is commonly used in baking, particularly in recipes for biscuits, pancakes, and certain types of quick breads. It is called “self-rising” because it contains leavening agents, typically baking powder and sometimes salt, which are already mixed into the flour. These leavening agents help the baked goods rise and become fluffy without the need for additional yeast or baking soda.
If a recipe (like this one) calls for self-rising flour, and you don’t have any on hand, you can make your own by combining all-purpose flour with baking powder and salt. The ratio is for every 1 cup of self-rising flour, you can use 1 cup of all-purpose flour, 1 ½ teaspoons of baking powder, and ¼ teaspoon of salt.
storage
Store any leftover lard biscuits in an airtight container at room temperature for up to 3 days. You can also freeze them for up to 2 months and thaw on the counter overnight.
You can easily make the biscuit dough in advance as well and cut the biscuits out. Keep them covered in the fridge before baking. If you want to freeze raw biscuit dough, that’s a great idea too. Just bake from frozen and keep an eye on the biscuits, they will need a few more minutes in the oven.
Frequently Asked Questions
You probably didn’t add any baking powder or maybe it was expired. Make sure you use self rising flour or add baking powder to the recipe if you are using regular flour.
Be cautious to not over-mix or knead the biscuit dough. This will cause the lard to be overworked and not help the biscuit to rise.
Of course! I love my classic butter biscuits recipe too. I like to grate the butter on a box grater when it’s super cold to easily work it into the biscuit dough.
More Delicious Biscuit Recipes
- Bacon Cheddar Biscuits
- Bojangles Blueberry Biscuits (copycat)
- Whipping Cream Biscuits
- Cinnamon Sugar Biscuits

Lard Biscuits (4 ingredients)
Ingredients
Biscuits
- 2 1/2 cups self-rising flour
- 3/4 cup lard or vegetable shortening
- 1 cup chilled buttermilk well-shaken
- 1-2 tablespoons salted butter melted
Instructions
- Preheat oven to 475ºF.
- Using a pastry cutter or 2 forks, cut lard or shortening in the flour until the fat is dispersed evenly, about the size of peas.
- Make a well in the center of mixture, add buttermilk and stir 8-10 times, the dough will be slightly loose. Add 2-4 tablespoons buttermilk if the dough seems too dry. Turn the dough onto a lightly floured surface and form into a ball.
- Sprinkle flour on top of the dough. Create layers by either the “Pat and Fold” or “Pat and Stack” method. Pat and Stack: press the dough to ½-inch thickness, score the dough into 4 equal sections, and stack the 4 together. Once it’s stacked high, press the dough down to ½-inch thickness. Cut with a 2 ½” floured round cutter, reshaping scraps and flouring as needed. Pat and Fold: Using a floured rolling pin, roll dough into a ¾” thick rectangle (about 9”x 5”). Fold dough in half so short ends meet. Repeat rolling and folding process 4 more times. Roll dough to ½” thickness. Cut with a 2 ½” floured round cutter, reshaping scraps and flouring as needed.
- Place dough rounds on a parchment paper-lined pan or a pre-heated buttered cast iron skillet. Bake at 475ºF for 11-14 minutes or until lightly browned.
- Brush with melted butter and serve.
Notes
Expert Tips
- Be sure your buttermilk is very cold. This helps the biscuit dough bind together and become the right consistency to get those perfectly flaky layers.
- Don’t over-mix the biscuit dough. If you do, you’ll end up with tough biscuits.
- To make the signature biscuit layers, make sure you “pat and stack”. You’ll want to do this a few times to create those stackable layers everyone loves in a biscuit.
- If you want a crispy bottom, bake the biscuits in a preheated cast iron skillet.
- If your biscuit dough becomes too warm when you are stacking and cutting, place it back into the fridge for 10 minutes before baking.
Storage
Store any leftover lard biscuits in an airtight container at room temperature for up to 3 days. You can also freeze them for up to 2 months and thaw on the counter overnight. You can easily make the biscuit dough in advance as well and cut the biscuits out. Keep them covered in the fridge before baking. If you want to freeze raw biscuit dough, that’s a great idea too. Just bake from frozen and keep an eye on the biscuits, they will need a few more minutes in the oven.Nutrition

About Laura
Taught by some of the best, cooking and entertaining has always been my favorite hobby. Food is my love language! The conception of Dinner in 321 came from my family talks that sharing our dinners would help others learn new skills, tasty recipes, and make cooking fun! Read more…