Mini Cherry Cheesecakes
These Mini Cherry Cheesecakes are the perfect bite-sized version of the classic creamy dessert that’s so much easier to make (only 30 minutes!) and serve when entertaining.
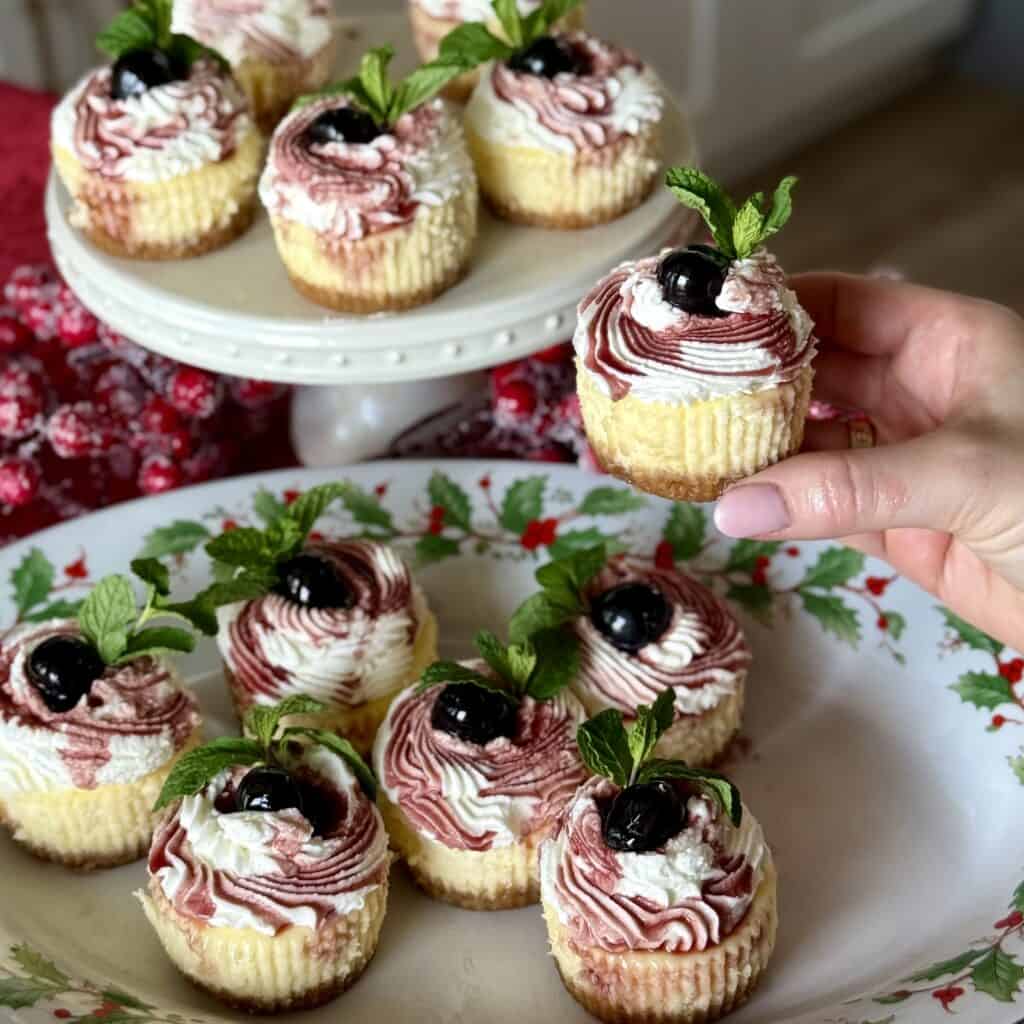
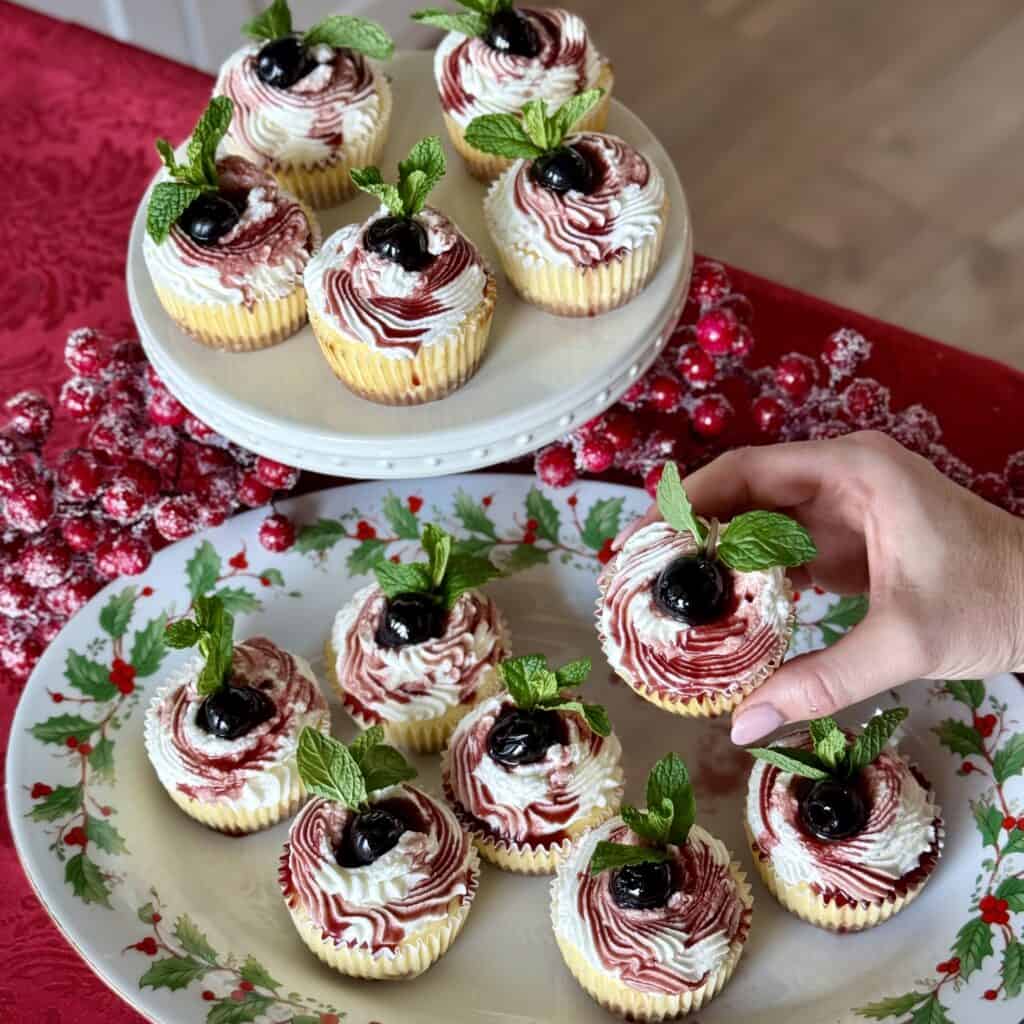
If you’re looking for the ultimate festive and flavorful hand-held treat that’s easy and delicious without the effort, look no further — we’ve got you covered! These sweet and creamy individual Mini Cherry Cheesecakes are one of our favorites. Easier to make than a traditional cheesecake, these adorable bite-sized cheesecakes are the foolproof shortcut version of the classic that are just as delicious. No water bath in sight here!
Table of Contents
Save The Recipe!
Add your email below and we’ll send it straight to your inbox+ you’ll receive all our newest recipes!
Made with a rich, buttery graham cracker crust, a creamy filling and sweet cherry topping, these Mini Cherry Cheesecakes hit every flavor and texture note. They’re the perfect size and great for special occasions, parties, and the holidays. I absolutely love that these Mini Cherry Cheesecakes can be made ahead of time, too, so you can spend more time with friends and family, and less time in the kitchen — dessert is served!
If you like this recipe, be sure to try these Mini Cheesecake Bites and this bright and citrusy Lemon Shortbread Cheesecake for other easy dessert ideas.
Why You’ll Love This Recipe
- Perfectly portioned, no slicing required. These bite-sized treats are just the right size. No need to slice, cut, or dirty up another utensil.
- Quick and easy “shortcut”. These are so much easier and faster to make than a full-size traditional cheesecake. Not to mention, they’re so cute and fun to eat!
- No water bath needed. This recipe is simple and no-fuss. No extra steps required.
- Great make-ahead dessert. Prep these in advance and have them at the ready; they’re perfect for parties and entertaining.
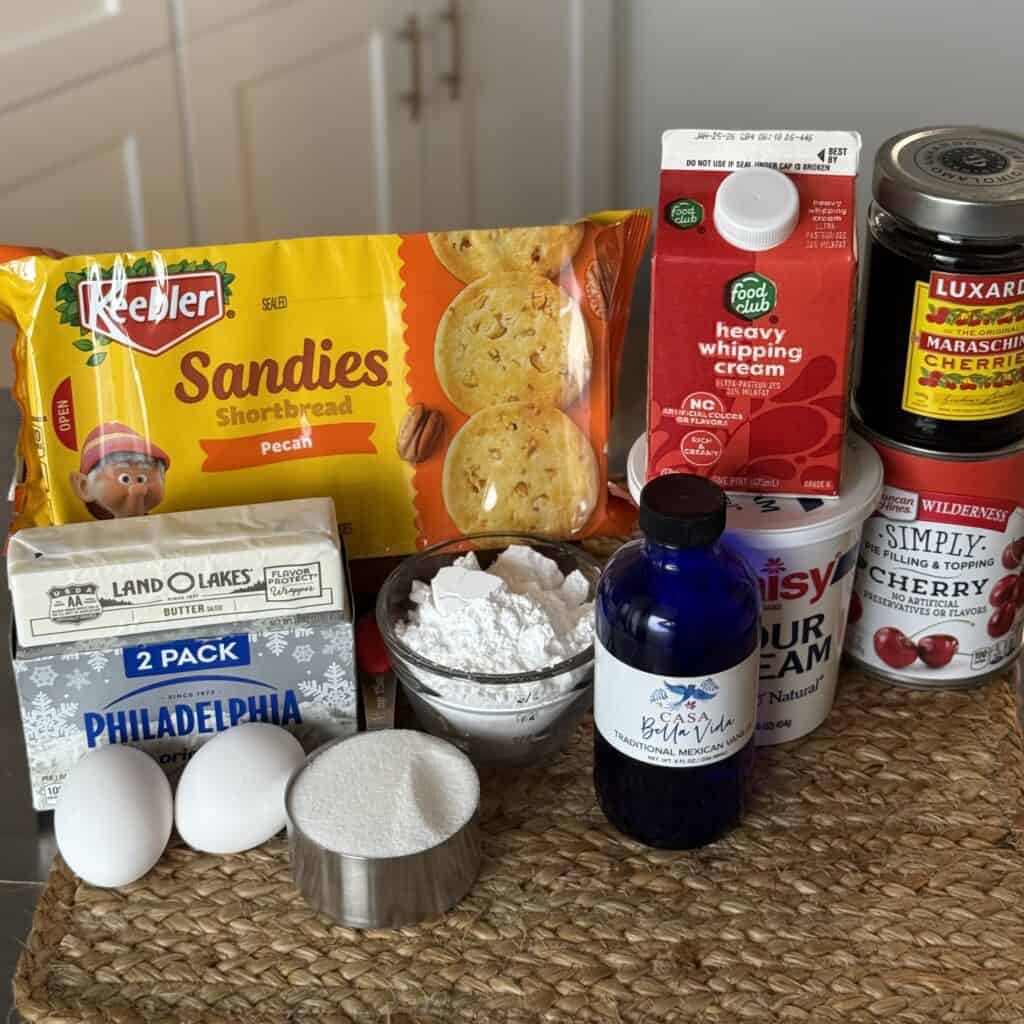
Ingredients
Scroll Down to the Bottom of this Post for Ingredient Amounts Listed in the Printable Recipe Card
For The Crust:
- Cookie Crumbs: The sweet, crunchy base. We like graham crackers for a classic flavor, but gingersnaps, Biscoff cookies, or shortbread are all tasty options.
- Sugar: For sweetness.
- Butter: We like to use salted to balance out the sugar and cookies.
For The Filling:
- Sour Cream: Creamy and tangy to compliment the cream cheese.
- Cream Cheese: For richness and essential for that classic cheesecake flavor. Soften before using.
- Sugar: For sweetness.
- Eggs: To bind the filling together.
- Vanilla Extract or Paste: Use the real stuff for the best flavor.
For The Topping:
- Cream Cheese: For even more tang and rich flavor and texture.
- Powdered Sugar: To add sweetness.
- Vanilla Extract or Paste: Brings extra flavor and enhances the other ingredients.
- Heavy Whipping Cream: For that light, airy texture.
- Cherry Pie Filling or Amaretto Cherries: Sweet, glossy and perfectly fruity.
Tools You’ll Need
- Hand Mixer or Stand Mixer
- Mixing Bowls
- Spatula
- Measuring Cups and Spoons
- Liquid Measuring Cups
- Muffin Tin
- Large Scoop
- Tamper Tool
- Ziptop Bag or Piping Bag and Tips
- Paper Cupcake Liners
How To Make Mini Cherry Cheesecakes
- Preheat oven to 350°F. Line a 12-cup muffin pan with cupcake liners.
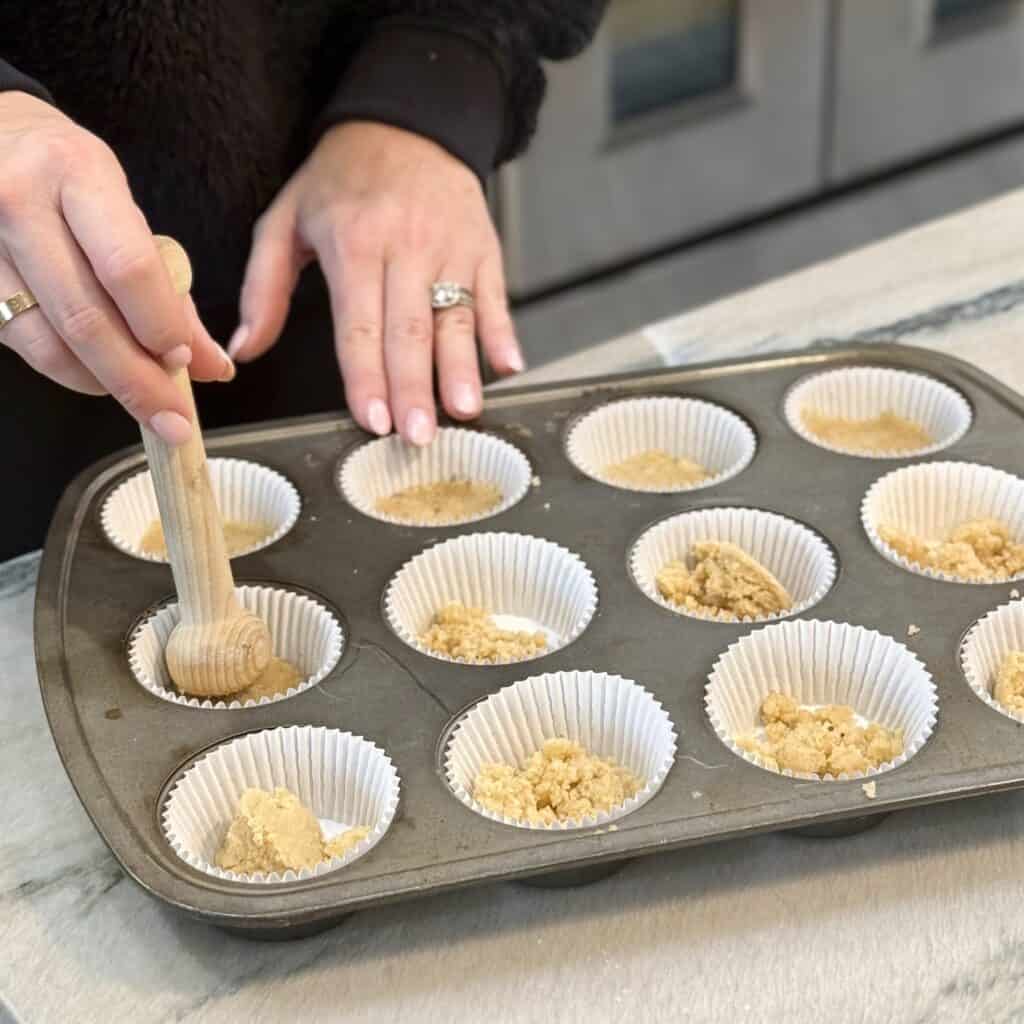
- In a small mixing bowl, combine cookie crumbs, sugar, and butter. Once an even sandy texture forms, divide evenly into the prepared pan. Lightly press with the back of a spoon or tamper. Bake 7-8 minutes.
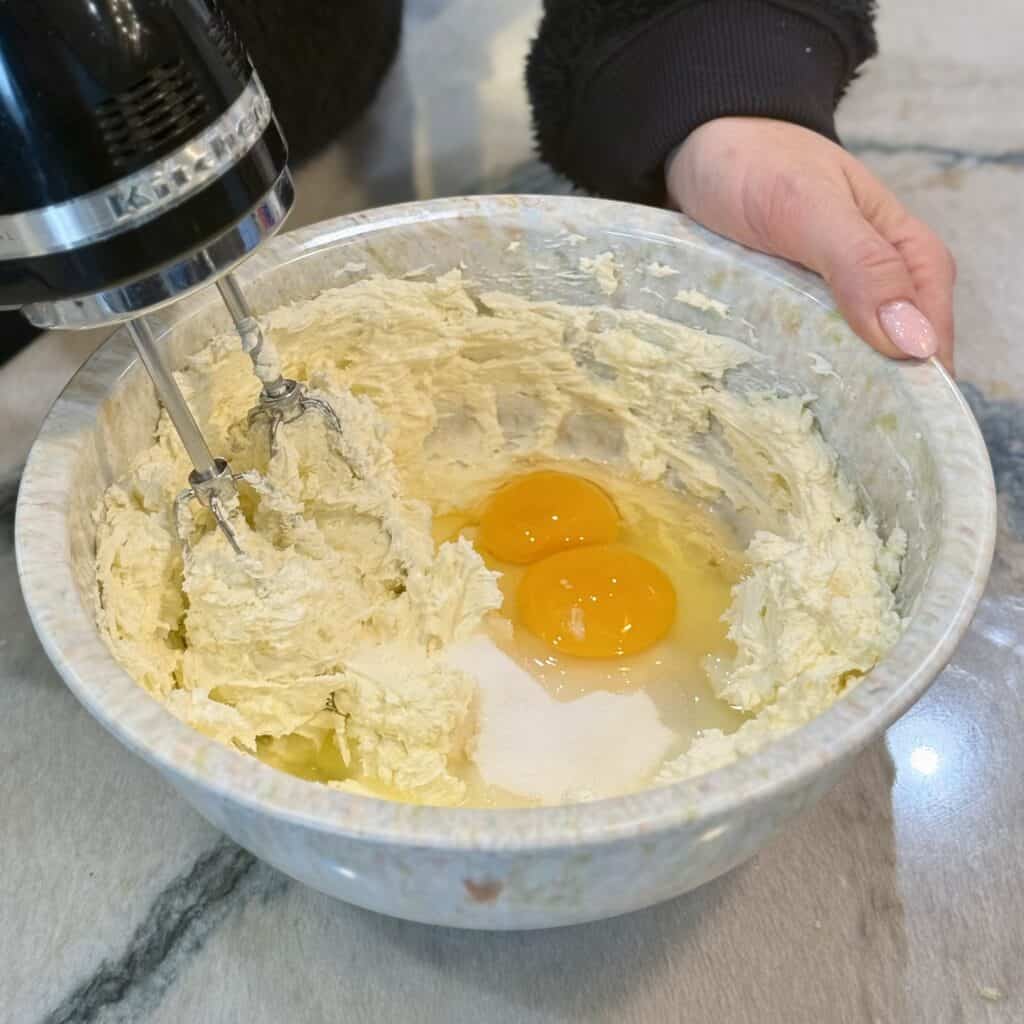
- In a large mixing bowl, blend sour cream and cream cheese with a hand mixer on medium-high speed until smooth.
- Add sugar, eggs, and vanilla and mix until combined well, about 1 minute.
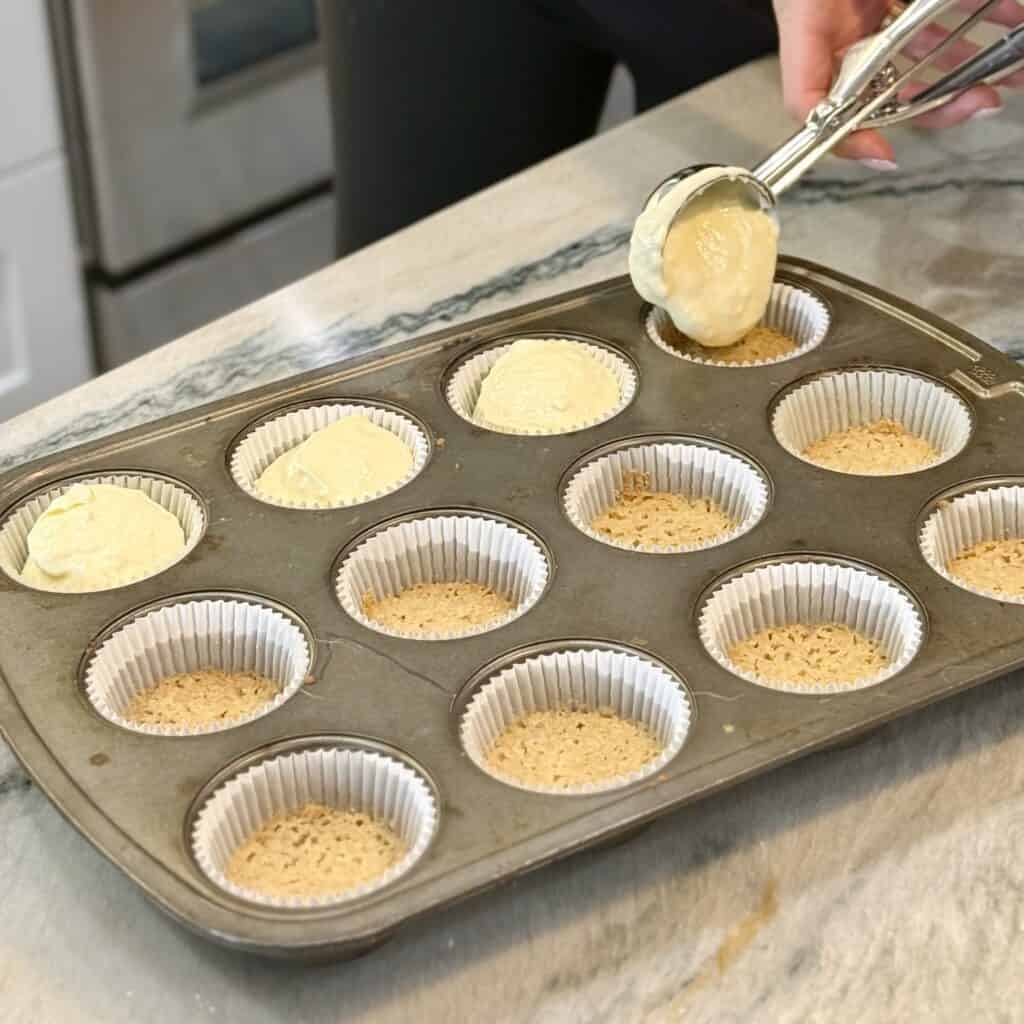
- Divide the batter among the liners. Bake 20-22 minutes or until the cheesecakes are mostly set. Cool completely at room temperature.
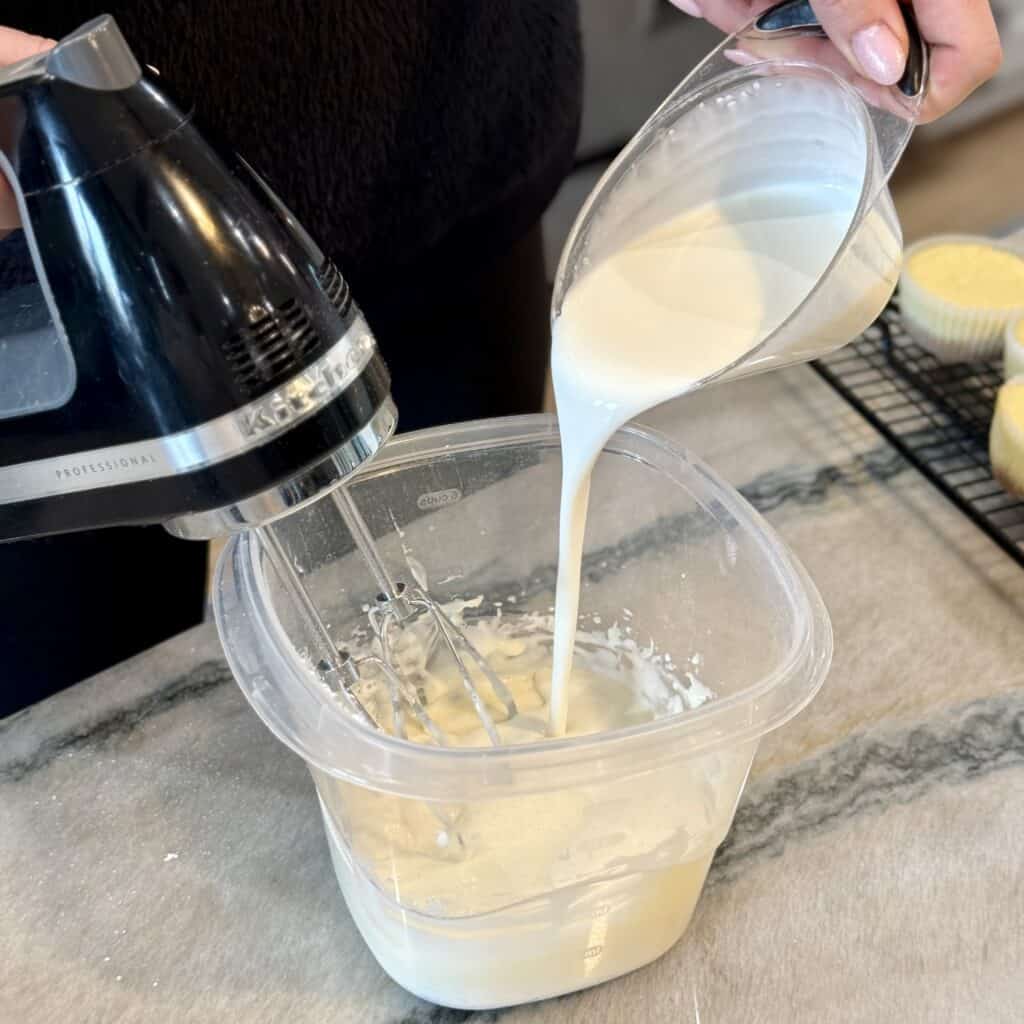
- In a stand mixer with a whisk attachment or large mixing bowl with a hand mixer, whip cream cheese until smooth. Add powdered sugar and vanilla extract, and whip until blended.
- Gradually add heavy whipping cream. Whip until stiff peaks form.
- Spoon or pipe on top of the cheesecakes.
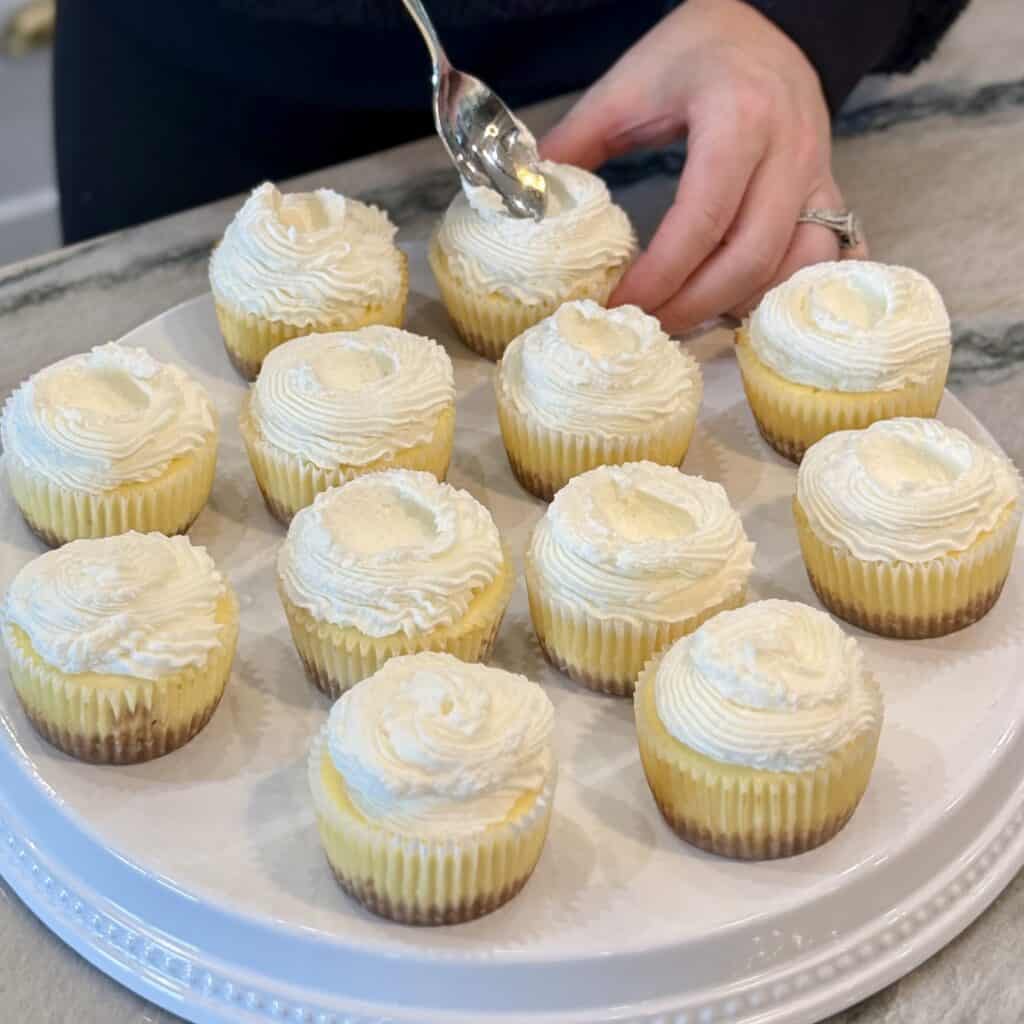
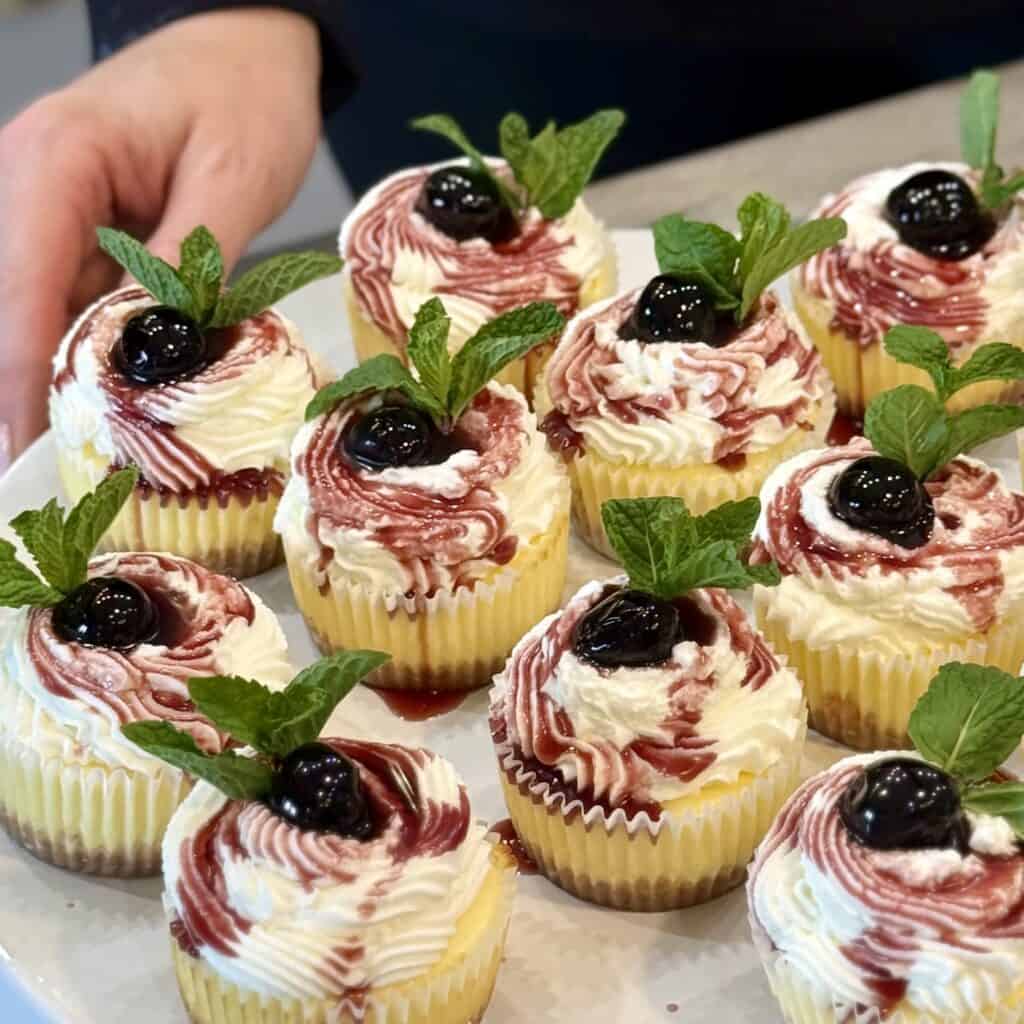
- Garnish with cherry pie filling or desired toppings.
Expert Tips
- Use room-temperature cream cheese and eggs. Soften the cream cheese and let the eggs sit on the counter before using to avoid lumps and cracks in the filling.
- Don’t over-bake. No need to over-cook these. A slight jiggle in the center is normal!
- Cool gradually. Don’t place these in the fridge or a cooler immediately after baking. They should cool gradually on the counter to prevent sinking or cracking, then chill.
- Chill at least a few hours (or overnight). Let them set and chill before topping and serving for the best texture and flavor.
Variations
- Try a different fruit topping. Swap the cherry topping for blueberry, strawberry, or even caramel for a different and just as delicious flavor profile.
- Use another cookie crust. Try a chocolatey Oreo crust or shortbread cookie crust instead of graham cracker for a new twist.
- Add an extra swirl of flavor. A layer of chocolate or swirl of lemon curd into the filling would be a delicious spin.
- Make them gluten-free. You can use gluten-free graham crackers for the crust if preferred.
Storage
Store leftover cheesecakes in a single layer in an airtight container in the fridge for 4-5 days.
You can store leftovers in the freezer for up to 2 months, but we suggest removing the fruit topping for the best texture. Thaw in the fridge overnight before serving, then add fresh topping when ready to enjoy.
These are a great make ahead dessert to save time. Make these up to 3 days in advance, store in the fridge, and serve when ready. You can also make and bake them ahead of time, then store in an airtight container in the freezer without the topping, for 3 months. Thaw in the fridge overnight, then add the topping and serve.
Frequently Asked Questions
This can happen if the cheesecakes cool too quickly.If you add them to the fridge right from the hot oven (let them cool gradually at room temperature first). This can also happen if your cream cheese and eggs are cold when you make the filling. Room temperature is best.
Sure, fresh cherries are fruity and delicious. But you’ll want to cook them with sugar, lemon juice and cornstarch on the stove briefly to achieve that thick, glossy, syrupy consistency.
The faster you enjoy these, the fresher they are, but you can make them up to 3 days in advance, if needed. Just store them in an airtight container or wrapped tightly in the fridge until ready to serve.
You can use paper or foil oven-safe liners, but the paper liners tend to remove slightly easier.
More Easy Dessert Recipes

Mini Cherry Cheesecakes
Ingredients
Crust
- 1 cup cookie crumbs (graham cracker, ginger, Biscoff, or shortbread)
- 2 tablespoons granulated sugar
- 3 tablespoons salted butter melted
Filling
- 1/4 cup sour cream
- 16 ounces cream cheese room temperature
- 1/2 cup granulated sugar
- 2 large eggs room temperature
- 1/2 teaspoon vanilla extract or paste
Topping
- 4 ounces cream cheese
- 3/4 cup powdered sugar
- 1/2 teaspoon vanilla extract or paste
- 1 1/8 cups heavy whipping cream
- 1/4 cup cherry pie filling or Amaretto cherries
Instructions
- Preheat oven to 350°F. Line a 12-cup muffin pan with cupcake liners.
- In a small mixing bowl, combine cookie crumbs, sugar, and butter. Once an even sandy texture forms, divide evenly into the prepared pan. Lightly press with the back of a spoon or tamper. Bake 7-8 minutes.
- In a large mixing bowl, blend sour cream and cream cheese with a hand mixer on medium-high speed until smooth.
- Add sugar, eggs, and vanilla and mix until combined well, about 1 minute.
- Divide the batter among the liners. Bake 20-22 minutes or until the cheesecakes are mostly set. Cool completely at room temperature.
Frosting
- In a stand mixer with a whisk attachment or large mixing bowl with a hand mixer, whip cream cheese until smooth. Add powdered sugar and vanilla extract, and whip until blended.
- Gradually add heavy whipping cream. Whip until stiff peaks form. Spoon or pipe on top of the cheesecakes. Garnish with cherry pie filling or desired toppings.
Notes
Storage:
- Store leftovers in a single layer in an airtight container in the fridge for 4-5 days.
- Store leftovers in the freezer for up to 2 months, but we suggest removing the fruit topping for the best texture. Thaw in the fridge overnight before serving, then add fresh topping when ready to enjoy.
- Make these up to 3 days in advance, store in the fridge, and serve when ready. You can also make and bake them ahead of time, then store in an airtight container in the freezer without the topping, for 3 months. Thaw in the fridge overnight, then add the topping and serve.
Tips
- Use room-temperature cream cheese and eggs. Soften the cream cheese and let the eggs sit on the counter before using to avoid lumps and cracks in the filling.
- Don’t over-bake. No need to over-cook these. A slight jiggle in the center is normal!
- Cool gradually. Don’t place these in the fridge or a cooler immediately after baking. They should cool gradually on the counter to prevent sinking or cracking, then chill.
- Chill at least a few hours (or overnight). Let them set and chill before topping and serving for the best texture and flavor.
Nutrition

About Laura
Taught by some of the best, cooking and entertaining has always been my favorite hobby. Food is my love language! The conception of Dinner in 321 came from my family talks that sharing our dinners would help others learn new skills, tasty recipes, and make cooking fun! Read more…