The Perfect Brisket
Making the perfect brisket requires time, patience, and attention to detail. Here’s a step-by-step guide to help you achieve excellent results!
If you are new to the world of cooking brisket on a smoker, then welcome to the never ending journey of learning and adjusting your skills to achieve the perfect slice of Brisket. For over ten years, my husband I have been barbecuing brisket using a Weber Kettle, pellet grills, and the Big Green Egg. Now, we are using a true Texas-style offset stick burner.
Save The Recipe!
Add your email below and we’ll send it straight to your inbox+ you’ll receive all our newest recipes!
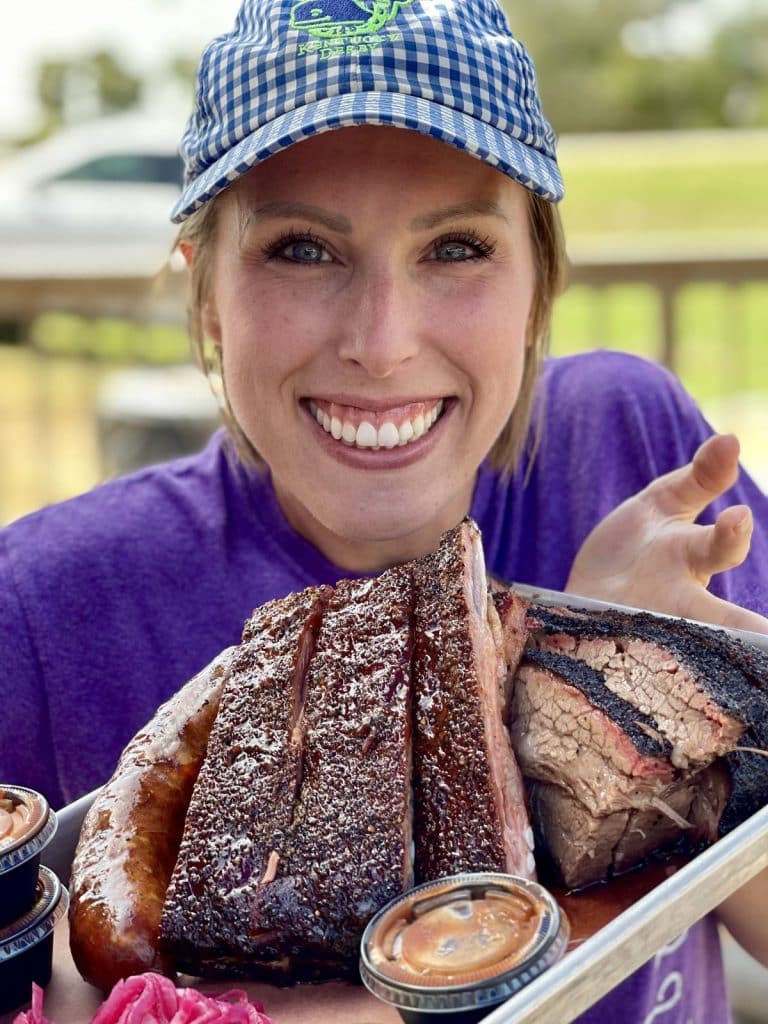
Over the years we’ve had some success and more than a few failures. We have learned something with every cook. Just when we thought we had it perfected, we moved to Texas and the brisket game was elevated. We discovered what is now our favorite Texas-style barbecue joint, Truth BBQ (as seen below)! After one succulent bite of their brisket, we understood what the gold standard of brisket should be.
In our quest to perfect brisket at home, we found a few favorite videos and food influencers who provide excellent advice on cooking brisket. The following is a culmination of trial and error and what we have learned from our favorite YouTubers and other BBQ enthusiasts to yield the best brisket ever!
Table of Contents
Before you Begin
There are lots of brands and types of tools, gadgets, grills, smokers, seasonings, etc. that will yield excellent results. Here are some must-haves before starting the big cook:
- Smoker or Grill: Ours is a Lone Star Grillz 24 x 40 Offset Smoker
- Thermometer: we use a Bluetooth MEATER or FireBoard
- Butcher Paper
- Roasting Oven: Ours is a Hamilton Beach 22 Quart Roasting Oven
- Cutting Board
- Brisket Knife
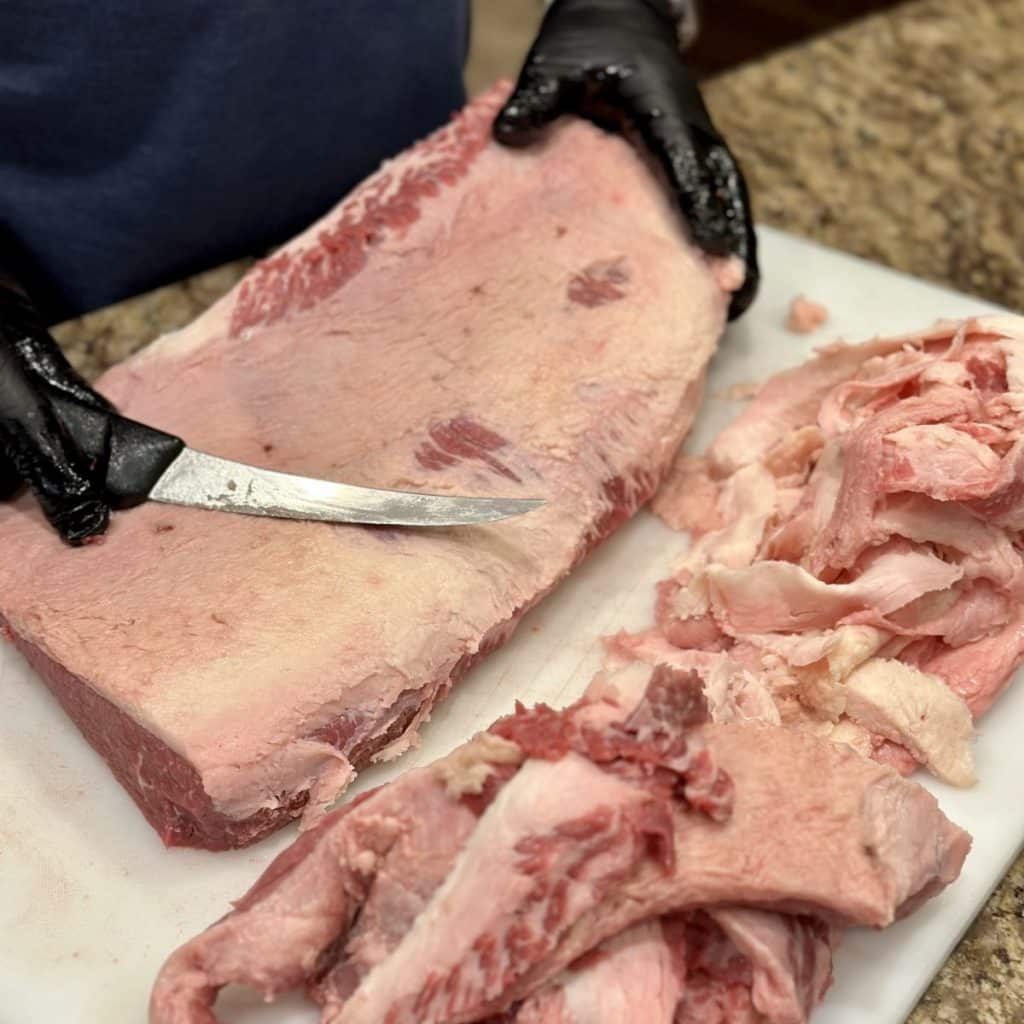
Selecting and Trimming the Brisket
A good brisket begins with a quality USDA Prime piece of meat. Choice and Select cuts, which have less marbling, produce a good brisket but are typically a little less juicy than Prime. Ultimately, go with what fits your budget and is available in your area.
We prefer a close-trimmed brisket (~ 1/4 inch remaining on the fat cap) because we like to consume the entire slice. If there’s too much fat, you’re not able to enjoy the deliciously seasoned bark on the side with the fat cap. We have watched many videos on trimming briskets, and the following link from Chud’s BBQ will take you to the best trimming video we have found.
How to Trim a Brisket! | Chuds BBQ – YouTube
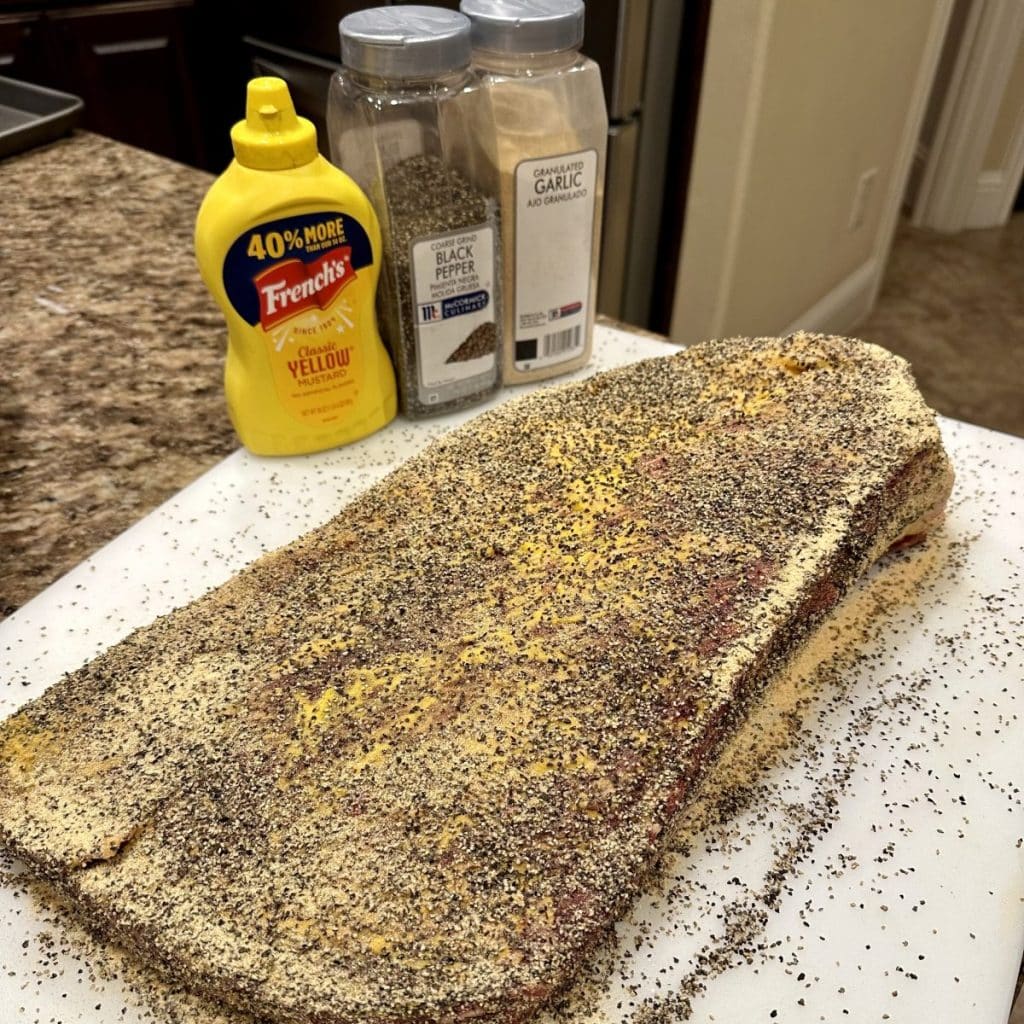
Seasoning the Brisket
Seasoning the Brisket is a matter of personal preference, but we use kosher salt, coarse black pepper and granulated garlic. Occasionally, we add Lawry’s Seasoning Salt or onion powder. The night before the big cook, we season the brisket with kosher salt and Lawry’s. The next day, we add a thin layer of French’s Yellow Mustard as a binder and a layer of black pepper and garlic. Leave the seasoned brisket out at room-temperature for about an hour before putting it on the smoker. You can also choose to make your own rub like this Best Brisket Rub.
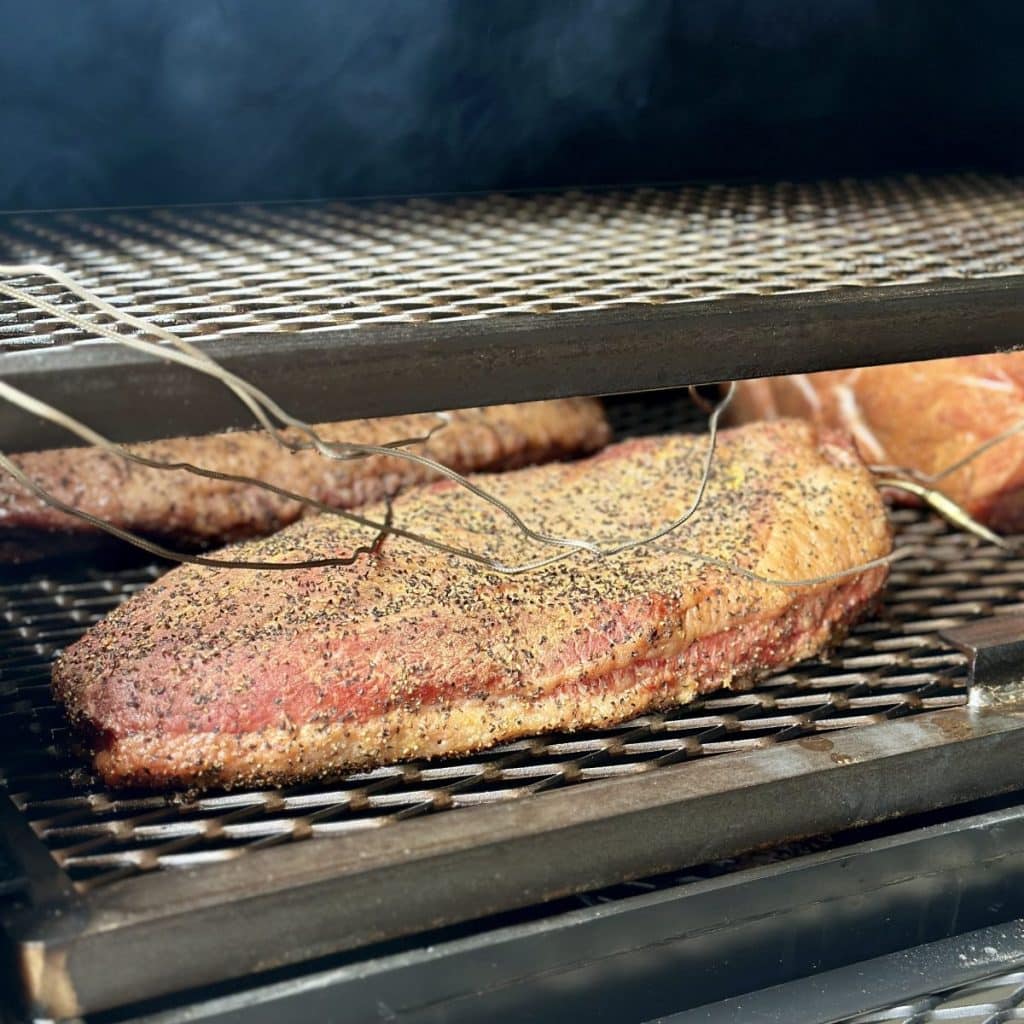
Smoking the Brisket
Place the Brisket on the BBQ at 225°F, and then increase the temperature over the next two hours until it reaches 275°F and let it ride. There are different ways to locate a brisket on the smoker, but in general, place on a stick burner fat side up, with the point (thick part) towards the fire. However, on a pellet grill or a Big Green Egg, where heat comes from the bottom, some BBQ enthusiasts recommend placing the fat side down towards the heat. This will protect the meat and keep the brisket from drying out. This Pellet Smoker Brisket Recipe gives an excellent step-by-step approach to yielding the perfect juicy brisket!
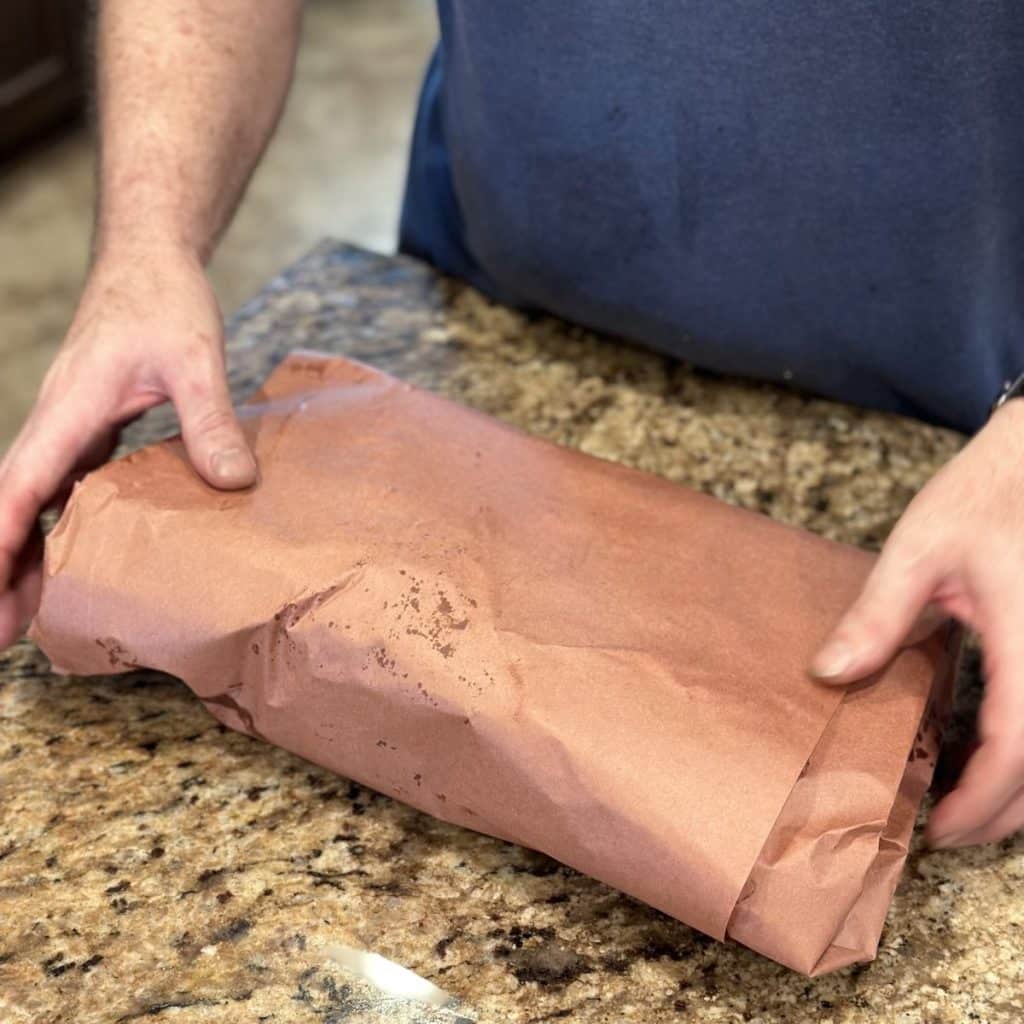
Once the brisket reaches about 170°F, it’s recommended to wrap the brisket. This can be done with foil, butcher paper or using the foil boat method, which leaves the top of the brisket open to further build the crust on the top of the brisket. We have used all of these method, but most of the time use the butcher paper as our preferred method. Give the brisket and butcher paper a few sprays of apple cider vinegar as you wrap and add a few tablespoons beef tallow as you wrap for some extra flavor.
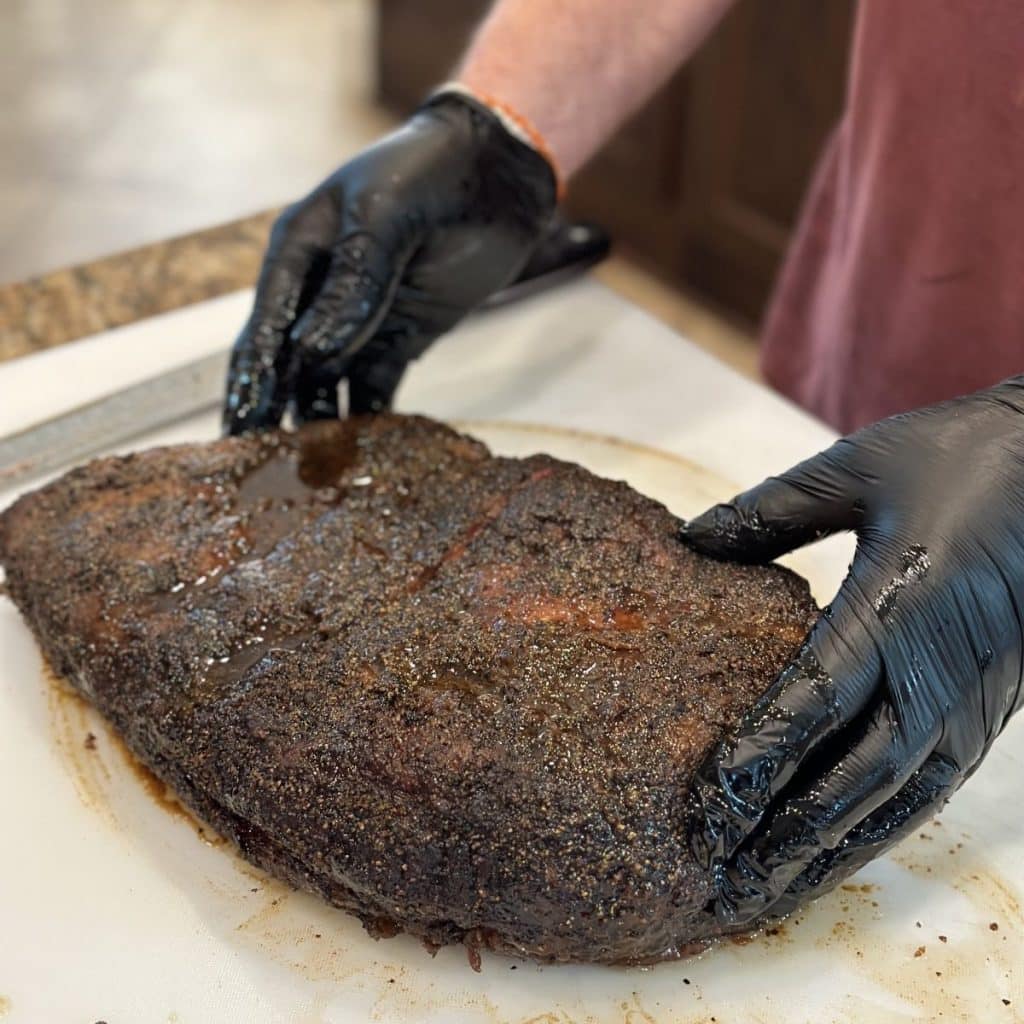
As the brisket approaches 195 °F, probe it with an insta read thermometer. When it easily slides into the meat, the brisket is ready to rest. As a rule of thumb, it’s ready to remove at 203°F. There are also many ways to feel when a brisket is done, but these methods come with more experience over time.
We let the brisket rest and cool down to around 150°F and then place into a roasting oven. Hold at that temperature for a few hours or up to 12-16 hours and serve the next day. You can also let the brisket rest in a cooler covered with towels for several hours, but don’t let it go below 140 °F.
How to Smoke a Brisket! | Chuds BBQYouTube
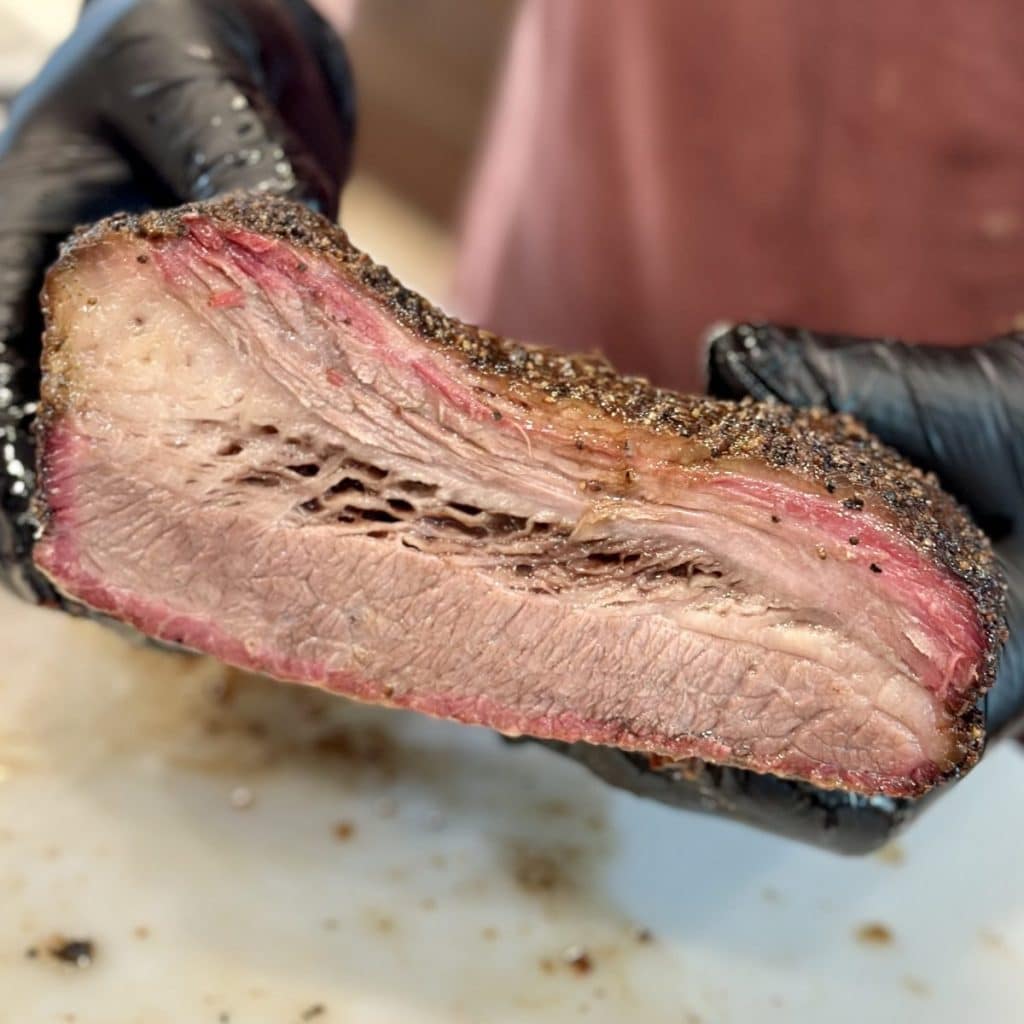
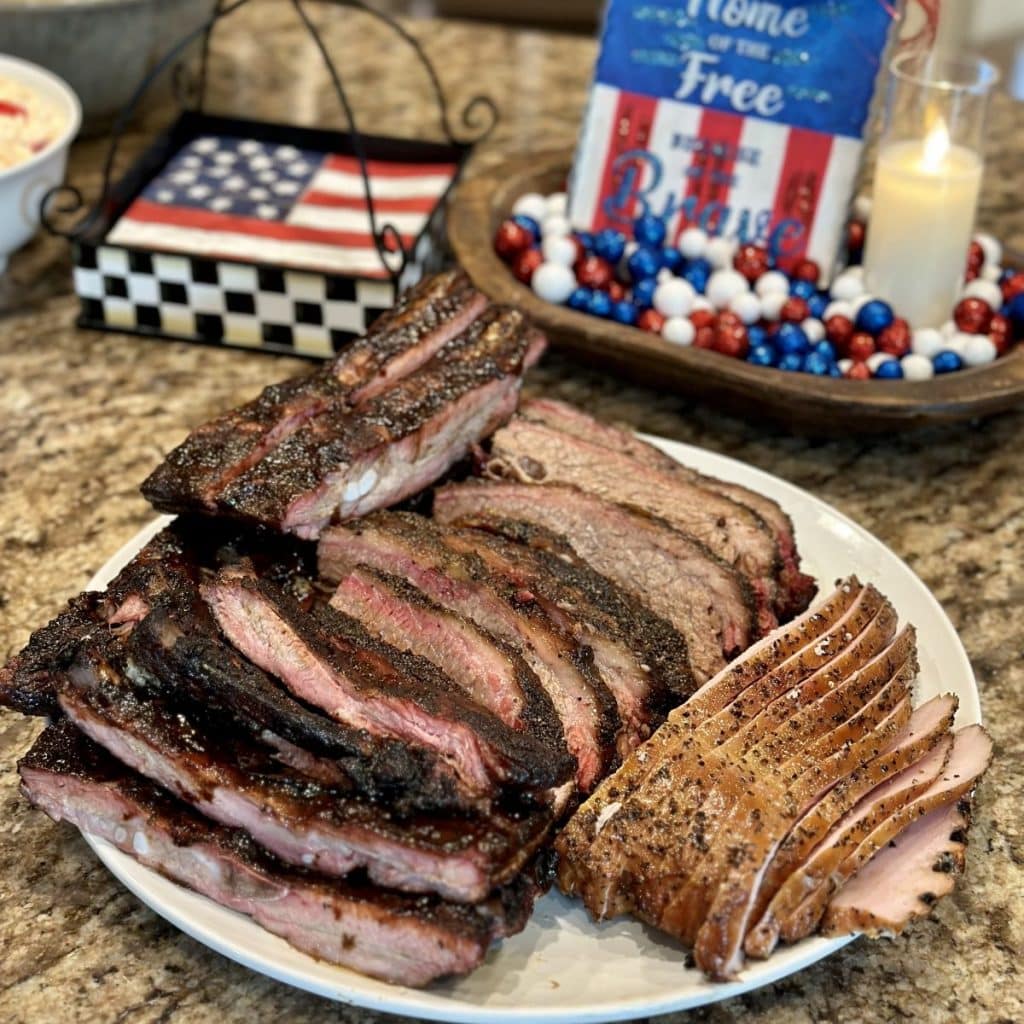
Brisket on the Board (IYKYK)
When it’s ready to serve, brisket should be sliced against the grain, which will provide a nice and tender slice of pull apart brisket. With your first cut, the lean flat is separated from the fatty side. Slice against the grain and serve to your friends and family based on how they like their brisket.
How To Slice a Brisket! | Chuds BBQ – YouTube
Remember, each brisket is unique. The cooking process may require adjustments based on the size of the cut, your equipment, cooking temperature, and personal preference. Experimentation and practice will help you perfect your brisket over time. If it doesn’t turn out as the perfect slice, you can chop it up and use it in chili, nachos, tacos, or as a baked potato topping!
A Smoked Brisket Flat is also a great option when you’re looking to have that killer barbecue but don’t need the volume of a whole brisket. This recipe yields incredibly tender and juicy meat that melts in your mouth!
Another great cut of beef that yields similar flavors to brisket is this deliocious Traeger Smoked Chuck Roast. It takes less time to smoke and is also a cheaper cut.
Perfect Brisket Sides
- Best Ever Macaroni Salad: Tender pasta tossed with fresh vegetables, eggs and a tangy dressing, it’s one folks will keep coming back for more!
- Classic Potato Salad: When it comes to timeless summer side dishes, Classic Potato Salad reigns supreme.
- Old Fashioned Orange Jello Salad: Bursting with tangy citrus flavors and a smooth, velvety texture, this dish is a crowd-pleaser.
- Marinated Vegetable Salad: Fill your plate with color, flavor and healthy nutrients!
- Sweet and Crunchy Ramen Salad: Colorful, crunchy and loaded with delicious flavors!
- Southern Layered Salad: A classic Southern dish that’s great to make ahead with your favorite veggies, meats, and cheeses, all dressed in a creamy mayo dressing.
- Country Scalloped Corn: With only 6 ingredients using one bowl, it’s perfect for any dinner or holiday get-together!
- Smoked Corn on the Cob: Simple method and a short cook time, you will love the smoky flavor!
- Smoked Potatoes Recipe: The ultimate blend of crispy texture and rich flavor!
Watch How to Make the Perfect Brisket

About Laura
Taught by some of the best, cooking and entertaining has always been my favorite hobby. Food is my love language! The conception of Dinner in 321 came from my family talks that sharing our dinners would help others learn new skills, tasty recipes, and make cooking fun! Read more…


